Gluten free Jammy Dodgers

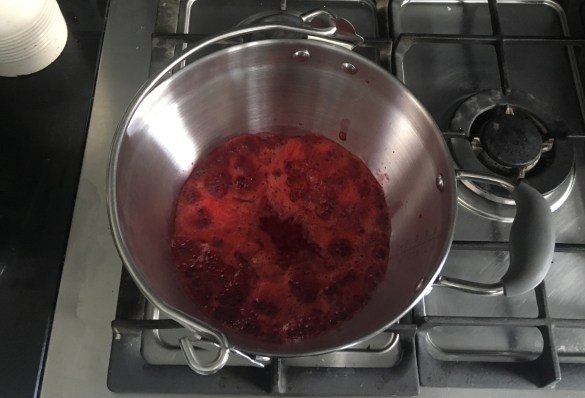
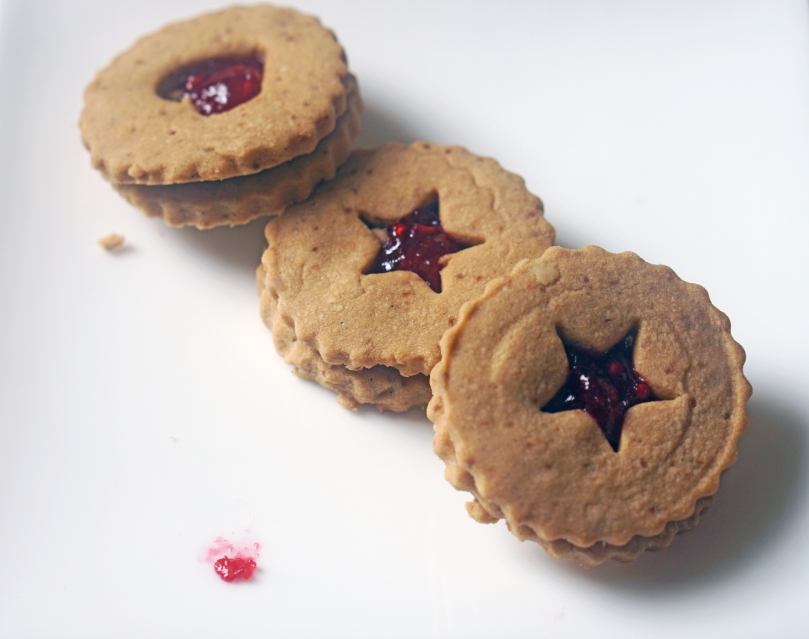
After making the homemade jam, I wanted to bake something with it. The first thing that came to mind was Jammy Dodgers (find the jam recipe on my blog).  I loved eating these when I was a little girl.

I have always loved baking, but biscuits are tricky gluten free because they are much more crumbly, however these hold their shape really well. This biscuit recipe is really easy to make, but looks really impressive .

jam dooger finshed picture 1

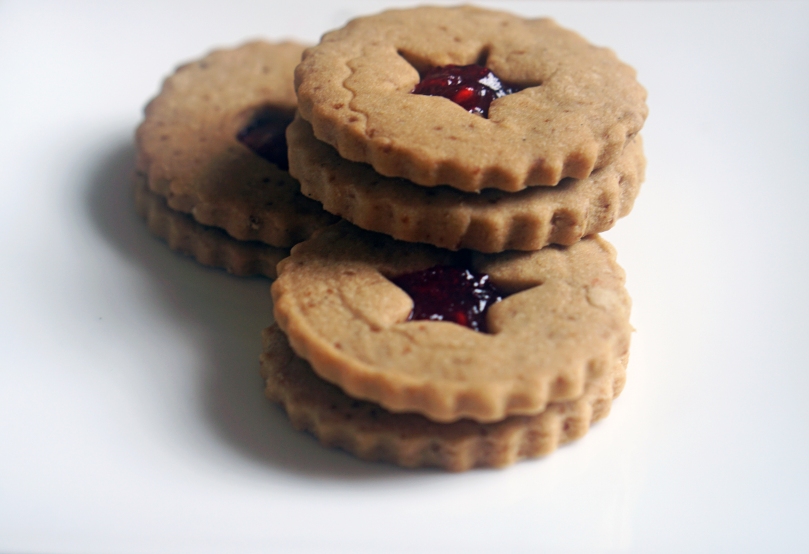
These are made with coconut sugar so they are much healthier for you than a normal biscuit. I find the coconut sugar actually adds a really nice flavour. I actually prefer these biscuits to the ones with caster sugar. If you want to be completely refined sugar free then you can use sugar free jam.  These biscuits are great to make in any season. I used raspberry jam but you can add any flavour jam you like.

jammie finshed dodger 4

Every summer I love to go the seaside with my family and dog who loves to have a walk on the beach and paddle in the sea.  We always have a picnic.  These biscuits are perfect to have in the hamper with a cup of tea. These are now going to be in the cake tin when we go out for day trips.

jammie dodgers 3 finshed psd

My tip is to roll out the dough straight away, don’t rest it because it becomes to crumbly to roll out.

Gluten Free Jammy Dodger Recipe:

Ingredients:

  • 110g unsalted butter
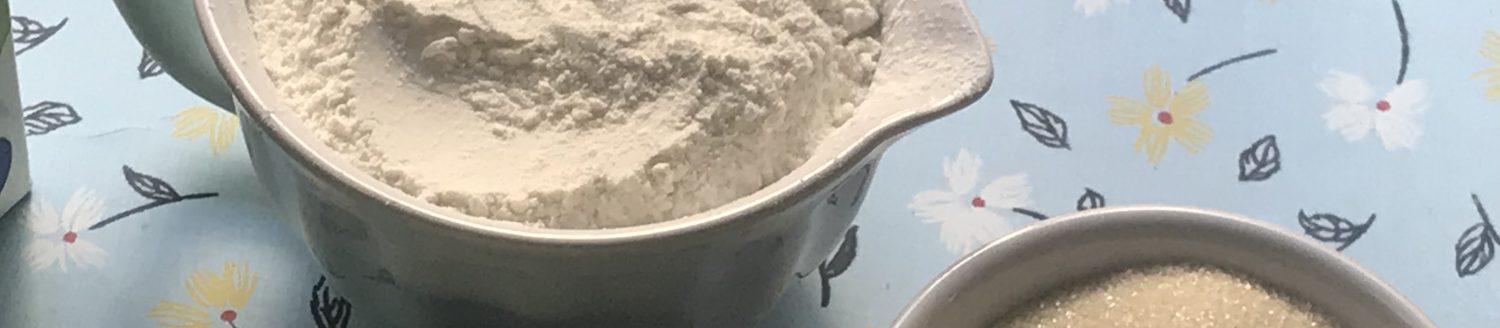
  • 55g coconut sugar
  • 165g gluten free plain flour
  • 1tbsp whole sheep milk (but you can use normal milk)
  • ½ tsp vannila bean paste
  • 1 jar of raspberry jam

Method:

  1. Preheat your oven to 170°/150 fan/ gas mark 3 ½  and line 3 baking trays with baking parchment.
  2. Put the butter, vannila  and coconut sugar in a bowl and beat until the sugar is light and fluffy (I beat it for 4 mins on a medium speed),
  3.  Next beat in the flour with a pinch of salt and beat in the milk until it forms a soft dough. Beat in a little more flour if too soft.
  4.  Tip the dough onto a lightly floured surface and knead for 2 mins to bring it   together.
  5.  Cut the dough in half. Roll out half the dough using a round cutter and place onto the baking tray, then roll and cut out the rest . Use a small star cutter and cut the middle of half of the biscuits (these will be the top).
  6.  Put into the oven and bake for 15-20 mins until they feel firm to touch ( I baked mine for 19 mins in a fan oven).
  7.  Once cooked leave on the baking tray for 5 mins then place to cool on a cooling rack (be careful when moving the biscuits because they are delicate).
  8.  To assemble the biscuits put a teaspoon of jam onto the biscuit that does not have a star shape on it. Then place the star cut biscuit on top.


Enjoy!

Raspberry Jam

Last year for my birthday my parents gave me the chance to go on a jam making course.  The experience was such fun that I was very keen to make my own jam. Sadly last year I was too late to pick my own fruit, but last week I went to a ‘pick your own’ fruit farm ready for my jam making.

jam making picture 1

The first time I ever made jam was when I was four.  I went on holiday to Ireland and went blackberry picking with my cousins. I remember the jam I made was the best thing I had ever tasted.  I think it was the freshness of those blackberries.

Making jam when you have picked your own fruit means its fresher and makes better jam. This year the raspberry crop was the best. The blackberries are now starting to be ready to be picked. I picked and made raspberry , strawberry and blackberry jam .

My tip is to only make a kilogram of jam at a time which is 6 jars of jam.  If you make it in this amount I find that it is easier to control the temperature, and all the jam I have made has set really well. Also make the jam as soon as possible after you have picked the fruit.

jam making picture 2

jam making picture 3            jam making picture 5

I loved the raspberry jam the best.

Recipe for raspberry jam:

Ingredients:

  •  1 kg raspberries
  •  Juice of one lemon
  •  1 pack of jam sugar (1 kg with pectin added)

Method:

  1. Before you start making the jam, sterilise your jars. Put into the oven on 180°(fan)  for 30 mins. After 30 mins take the jars out of the oven and leave to dry. Also put a plate in the freezer or fridge to cool (this will be used to test if the jam has set).
  2. Tip half the raspberries into a preseving pan and add the lemon juice. Mash the berries to a pulp with a potato masher, then cook for 5 mins.
  3. Tip the cooked berries over a sieve. Once all the juice has drained off , firmly work the pulp through the sieve until you are left with the seeds only.
  4. Tip the juice back into the preserving pan and over a low heat stir in the sugar. Then add the remaining raspberries and bring to the boil.Boil for 5 -7 mins (make sure you stir occasionally this will stop the sugar crystallising around the side of the pan).
  5. Spoon a teaspoon of jam onto the cold plate and put back into the fridge for 2 mins. The jam will be ready if it wrinkles when you push a spoon into it.  If it does not, boil again for another 3 mins (I find it needs an extra 3 mins).
  6. Once ready take off the heat. Get a small piece of butter and stir it into the jam, this stops a skin forming when the jam is cooling.
  7. Leave to cool for 30 mins stirring occasionally.  Once cooled poor into the jars and leave to cool for another 30 mins . Then put a ring of parchment paper the size of the lid to stops a skin forming. Then put the lids on.
  8. Unopened store in a cupboard and once opened store in the fridge.

Enjoy!


Gluten Free Carrot Cake Perfect For Mother’s Day


carrot cake v2

I made this cake for my mum’s birthday a week ago and she loved it so much she asked me if I would make it again. As it is mothers day on Sunday I have decided to make it again!

I found a recipe for a cake I had made before which worked well but as I’m now on a gluten free diet I needed to adapt the recipe. I also thought it would be good if the recipe had reduced sugar as I’m trying to cut down on sugar in my diet.

carrot cake v1

This cake is made with coconut sugar and has maple syrup in the coconut and orange  frosting. This means the cake is much better for you, so don’t feel bad if you have a second slice in the same day!  I also wanted to add extra spice to the cake to help add natural sweetness.

carrot cake v4

Make sure you buy the ingredients for the coconut frosting the day before. The coconut frosting requires you to put a can of coconut milk in the fridge overnight, so the top sets and you can whisk it up to make the frosting the next day.

carrot cake v3

Recipe: Gluten free Carrot Cake with coconut and orange cream frosting with lemon curd.

For the cake: (Recipe adapted from the book ‘Great British Bake Off Everyday’)

Ingredients:

For cake:

  • 4 large eggs
  • 125ml light olive oil
  • 230g coconut sugar
  • 225g gluten free plain flour
  • 2 ½ tsp gluten free baking powder
  • ½ tsp xanthan gum
  • 1 tsp ground cinnamon
  • ¼ tsp ground cloves
  • 1 tsp allspice
  • 375g carrot grated  (6-7 medium size carrots  ) but if you have less amount don’t worry
  • 75g desiccated coconut
  • 100g raisins
  • Zest of one orange

For the syrup:

  • 1 orange
  • 1 lemon

For the frosting:

  • 1 zest of an orange
  • 1 tsp maple syrup (can add more depending how sweet you want it)
  • 2 x 400ml can of coconut milk (Put into the fridge the night before to harden)

Half a jar of lemon curd (optional)

To decorate:

pistachio nuts , desiccated coconut and orange zest

Method:

  1. Firstly make the cake. Prepare 2 x 20.5cm cake tins greased with butter and the base lined with parchment paper. Preheat your oven to 180° / 350 °F/gas 4 .
  2. Put the eggs , olive oil and coconut sugar in a bowl, whisk with a free stand mixer with the whisk attachment or with a hand held electric whisk for 5 mins until everything is frothy.
  3. Sift the flours, baking powder, xanthan gum and spices into a bowl and gently fold with a metal spoon until everything is combined.  Add the grated carrot, coconut, raisins and zest of an orange to the bowl and fold in with a spoon until everything is incorporated.
  4. Spoon the mixture into the prepared tins and spread out evenly, making sure to get to the corners and you have smoothed the top. Put into the oven and bake for 35 mins until a skewer comes out clean.
  5. While the cakes are cooking make the syrup. Put the juice of an orange and lemon in a pan and reduce for 10 mins. (I don’t add sugar) .
  6.  Once cooked take out of the oven leave for 5 mins, take out of the tin and place on a cooling rack. While the cake is still warm make small holes with a skewer in the sponge and pour in the syrup .
  7. While the cake is cooling make the coconut frosting. Take the coconut cans of milk out of the fridge and scrape the top that has set over night into a bowl (you don’t need the liquid bit at the bottom. It can be used for homemade curry later in the week. Whisk until soft peaks form, the add the zest of an orange and 1 tsp of maple syrup and whisk for a further 3 mins. Add more maple syrup if you want depending how sweet you want it.
  8. Once the cake is completely cool then start assembling the cake . Place one of the cakes upside down on the cake stand or plate depending what your going to serve it on . Spread half the jar of lemon curd on the cake  ( if you are using it) and then add half of the coconut frosting. Place the other cake on top and spread the rest of the coconut frosting .
  9. To decorate lightly toast desiccated coconut for 5 mins in a pan, until it goes lightly brown, Put on top of the cake then sprinkle pistachio nuts and add zest of an orange.

Enjoy!


Gluten Free Soda Bread

UHLN9567

Happy spring everyone! This year I decided that I wanted to learn and develop gluten free bread recipes. I have been wondering what recipe to share next, as it is St Patrick’s day on Sunday, so I thought this must be the next recipe.

Gluten free Soda Bread!

I have grown up with soda bread. Before I went ‘gluten free’ I use to cook my aunties recipe. Every time I went to Ireland to visit there was a fresh loaf. It’s delicious with jam for breakfast. I love the light texture so now I am gluten free I was determined to develop a gluten free recipe.

XQPY0062

It has taken me a long time to develop this recipe, as I have found that gluten free soda bread crumbles much more easily than a normal soda bread, and the texture can be denser. I have found that using four types of flour, instead of only using two, really helps keep the structure, and the bread does not crumble when cut, and has a light texture.

This recipe keeps really well and can be made ahead and frozen.  This bread is a perfect way to start a St Patrick’s day celebration with smoked salmon, or served with an Irish Stew later in the day.

It’s a great bread and I always try to make two and freeze one as there is nothing better than having homemade bread for open sandwiches.

JNXP3904 (2)


Gluten Free Soda Bread Recipe:

Note: This cooking gives the best result.  Bake for the first 20 mins in a 170°c oven , then turn the oven down to 150°c to cook for another 10 mins. Finally, take out the bread and place on a baking tray upside down and put back in the oven for 10 mins.

Ingredients:

  • 1 tsp apple cider vinegar
  • 90g teff flour
  • 75g brown rice flour
  • 50g potato flour
  • 25g gluten free brown bread flour
  • 1 tsp bicarbonate of soda
  • ½ tsp gluten free baking powder
  • 40g sunflower seeds
  • 1½ tsp rapeseed oil plus some for greasing the tin
  • 2 tsp molasses
  • ½ tsp xanthan gum
  • 2 eggs
  • 100ml goats milk
  • 50ml sheep yogurt
  • 1 tbsp brown rice flakes (optional)


Method:

  1.  Preheat the oven to 170° and grease a loaf tin with rapeseed oil.  Then cover the bottom of the tin with rice flakes (optional) . Just shake off the ones that don’t stick to the tin.
  2. Measure out the goat’s milk and sheep’s yogurt . Add the apple cider vinegar and set aside.
  3. Combine the flours with the baking soda , salt and baking powder in a bowl, then stir in the sunflower seeds.
  4. Add the oil, xanthan gum and molasses to the milk and yogurt mixture Using a hand blender pulse, until everything is well combined. Add the eggs to the milk and use the hand blender to mix in the egg (I like to do that for 3 minutes)
  5. Finally make a well in the middle of the dry ingredients and pour in the wet ingredients. Stir until everything is well combined.
  6. Pour into the greased tin smooth the top.  Put into the oven for 20 mins . After 20 mins turn down the oven to 150° and cook for a further 10 mins. Take the bread out of the tin and place upside down on a baking tray. Put back in the oven and cook for a final 10 mins.
  7. Take out of the oven wrap in a wet tea towel, which stops the bread from drying out. Leave to cool in the tea towel.

Enjoy !