Gluten Free Chocolate and Blackberry Cupcakes.

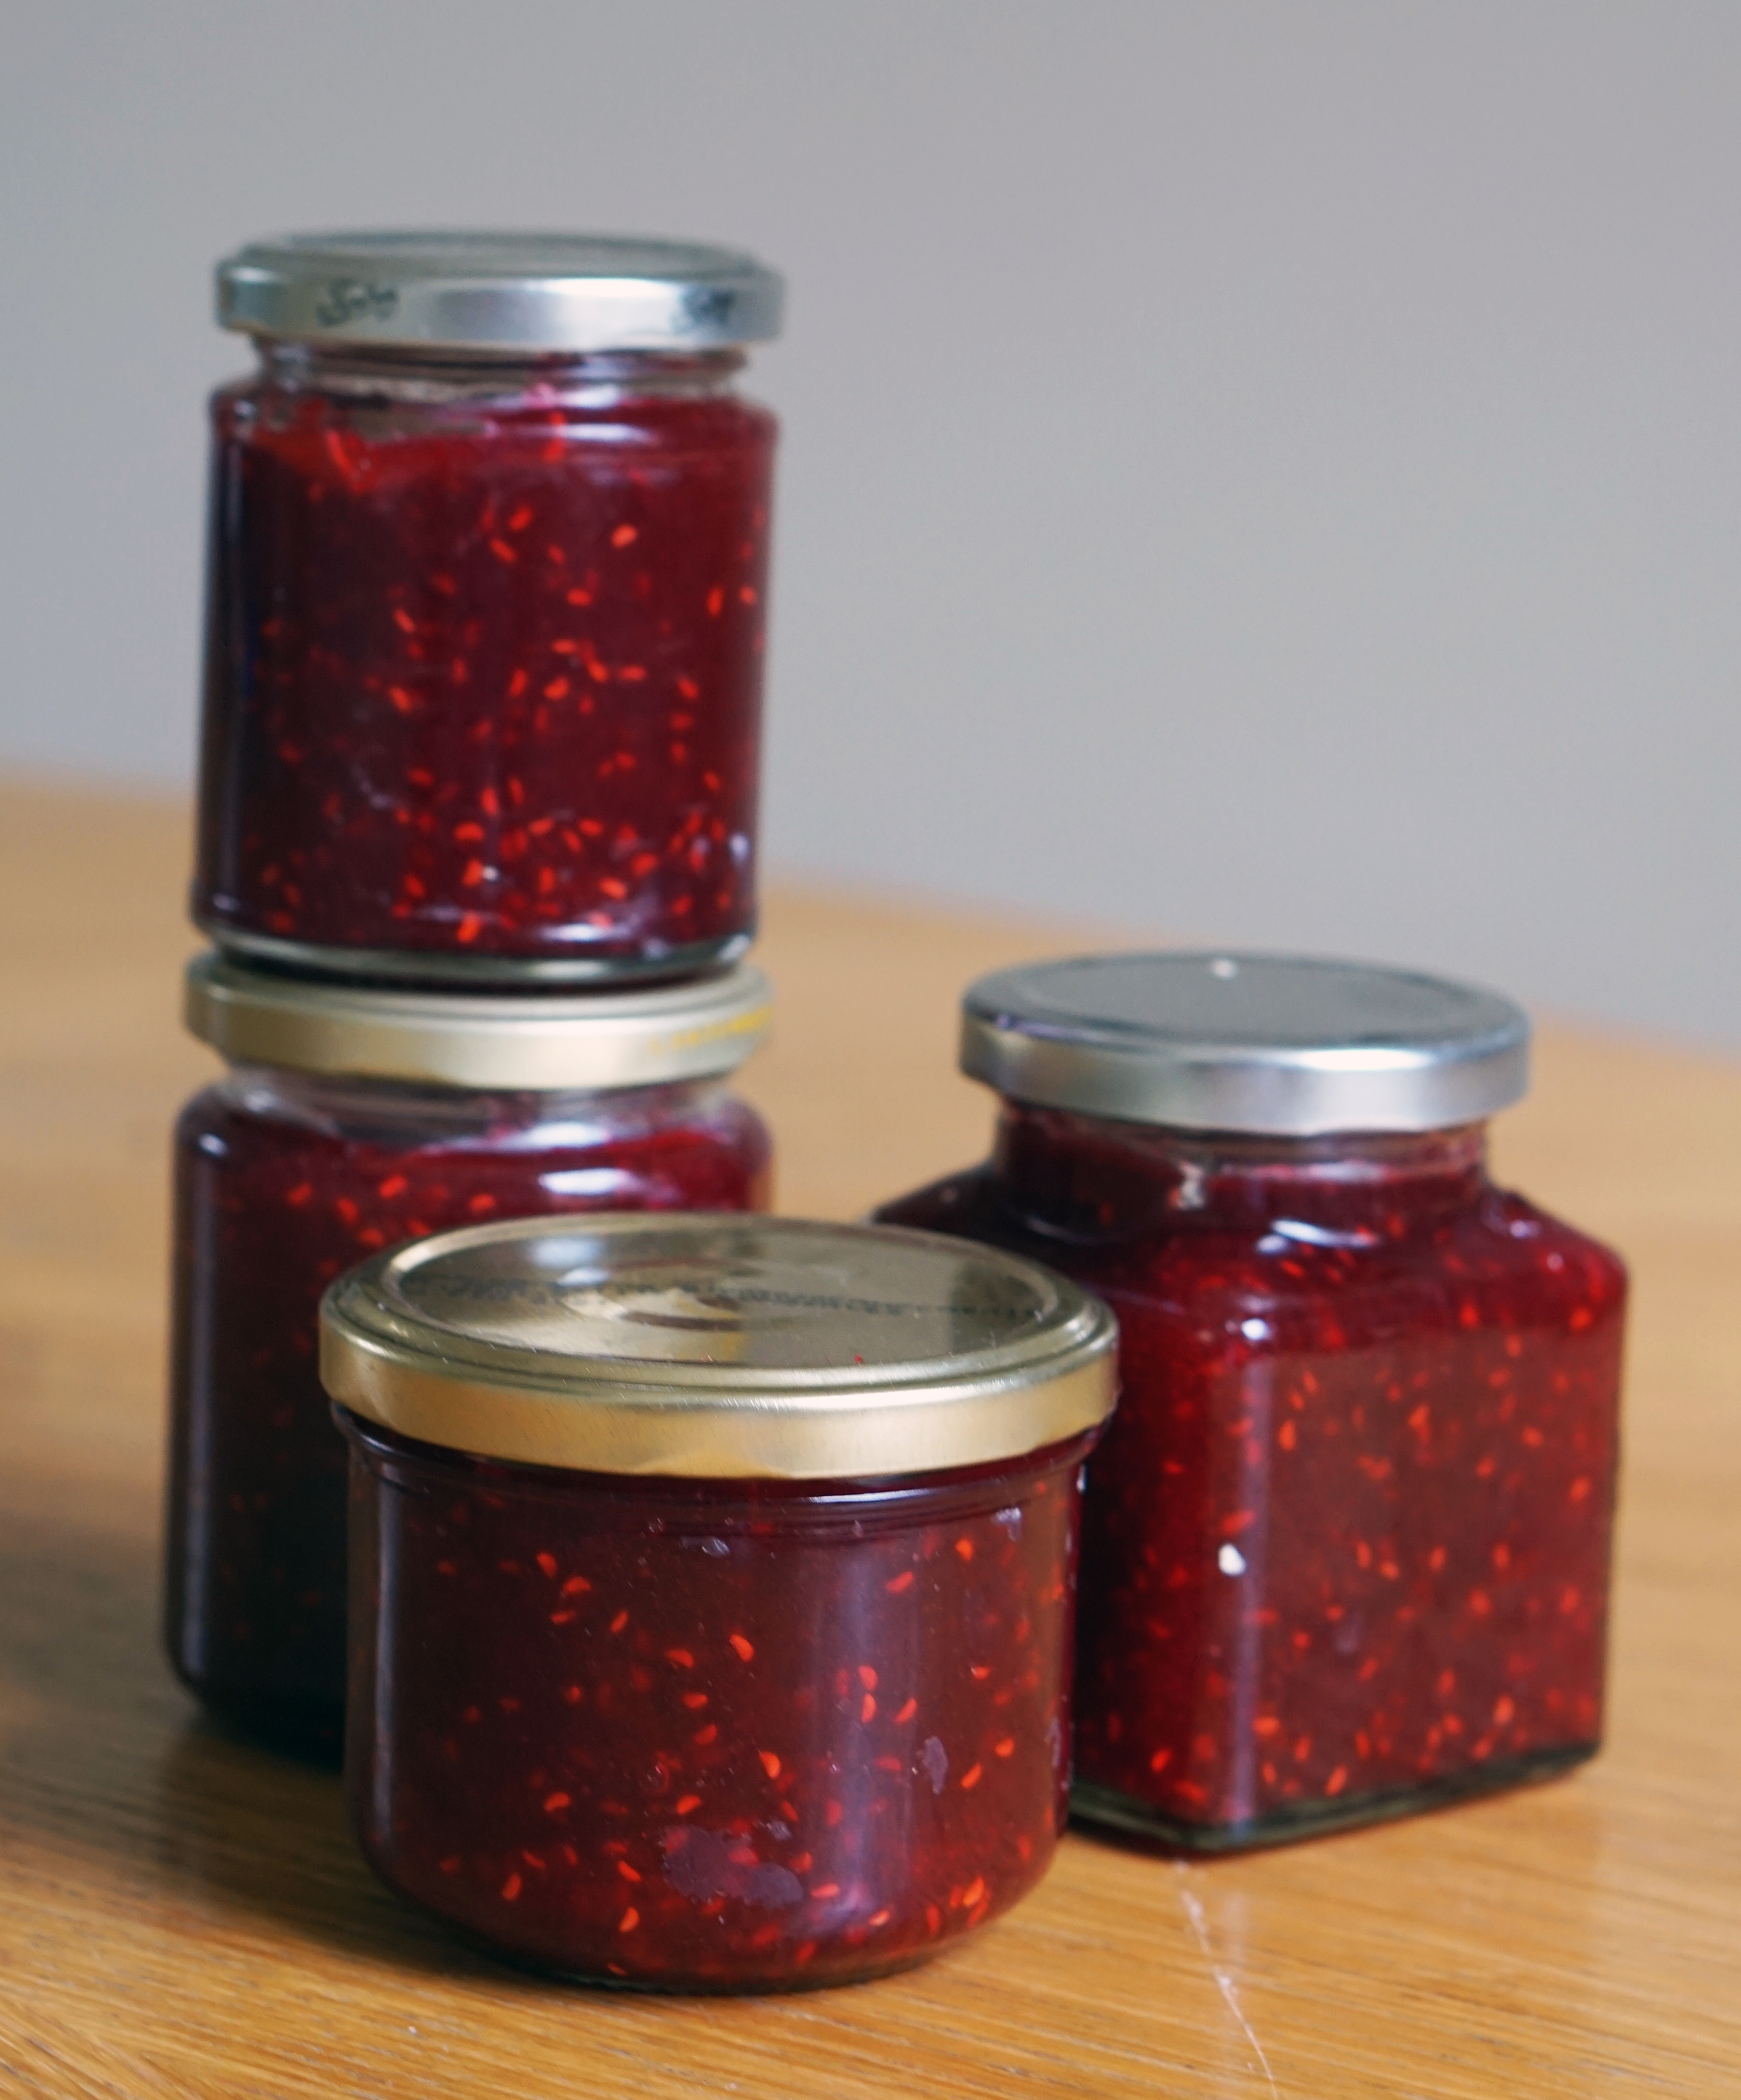
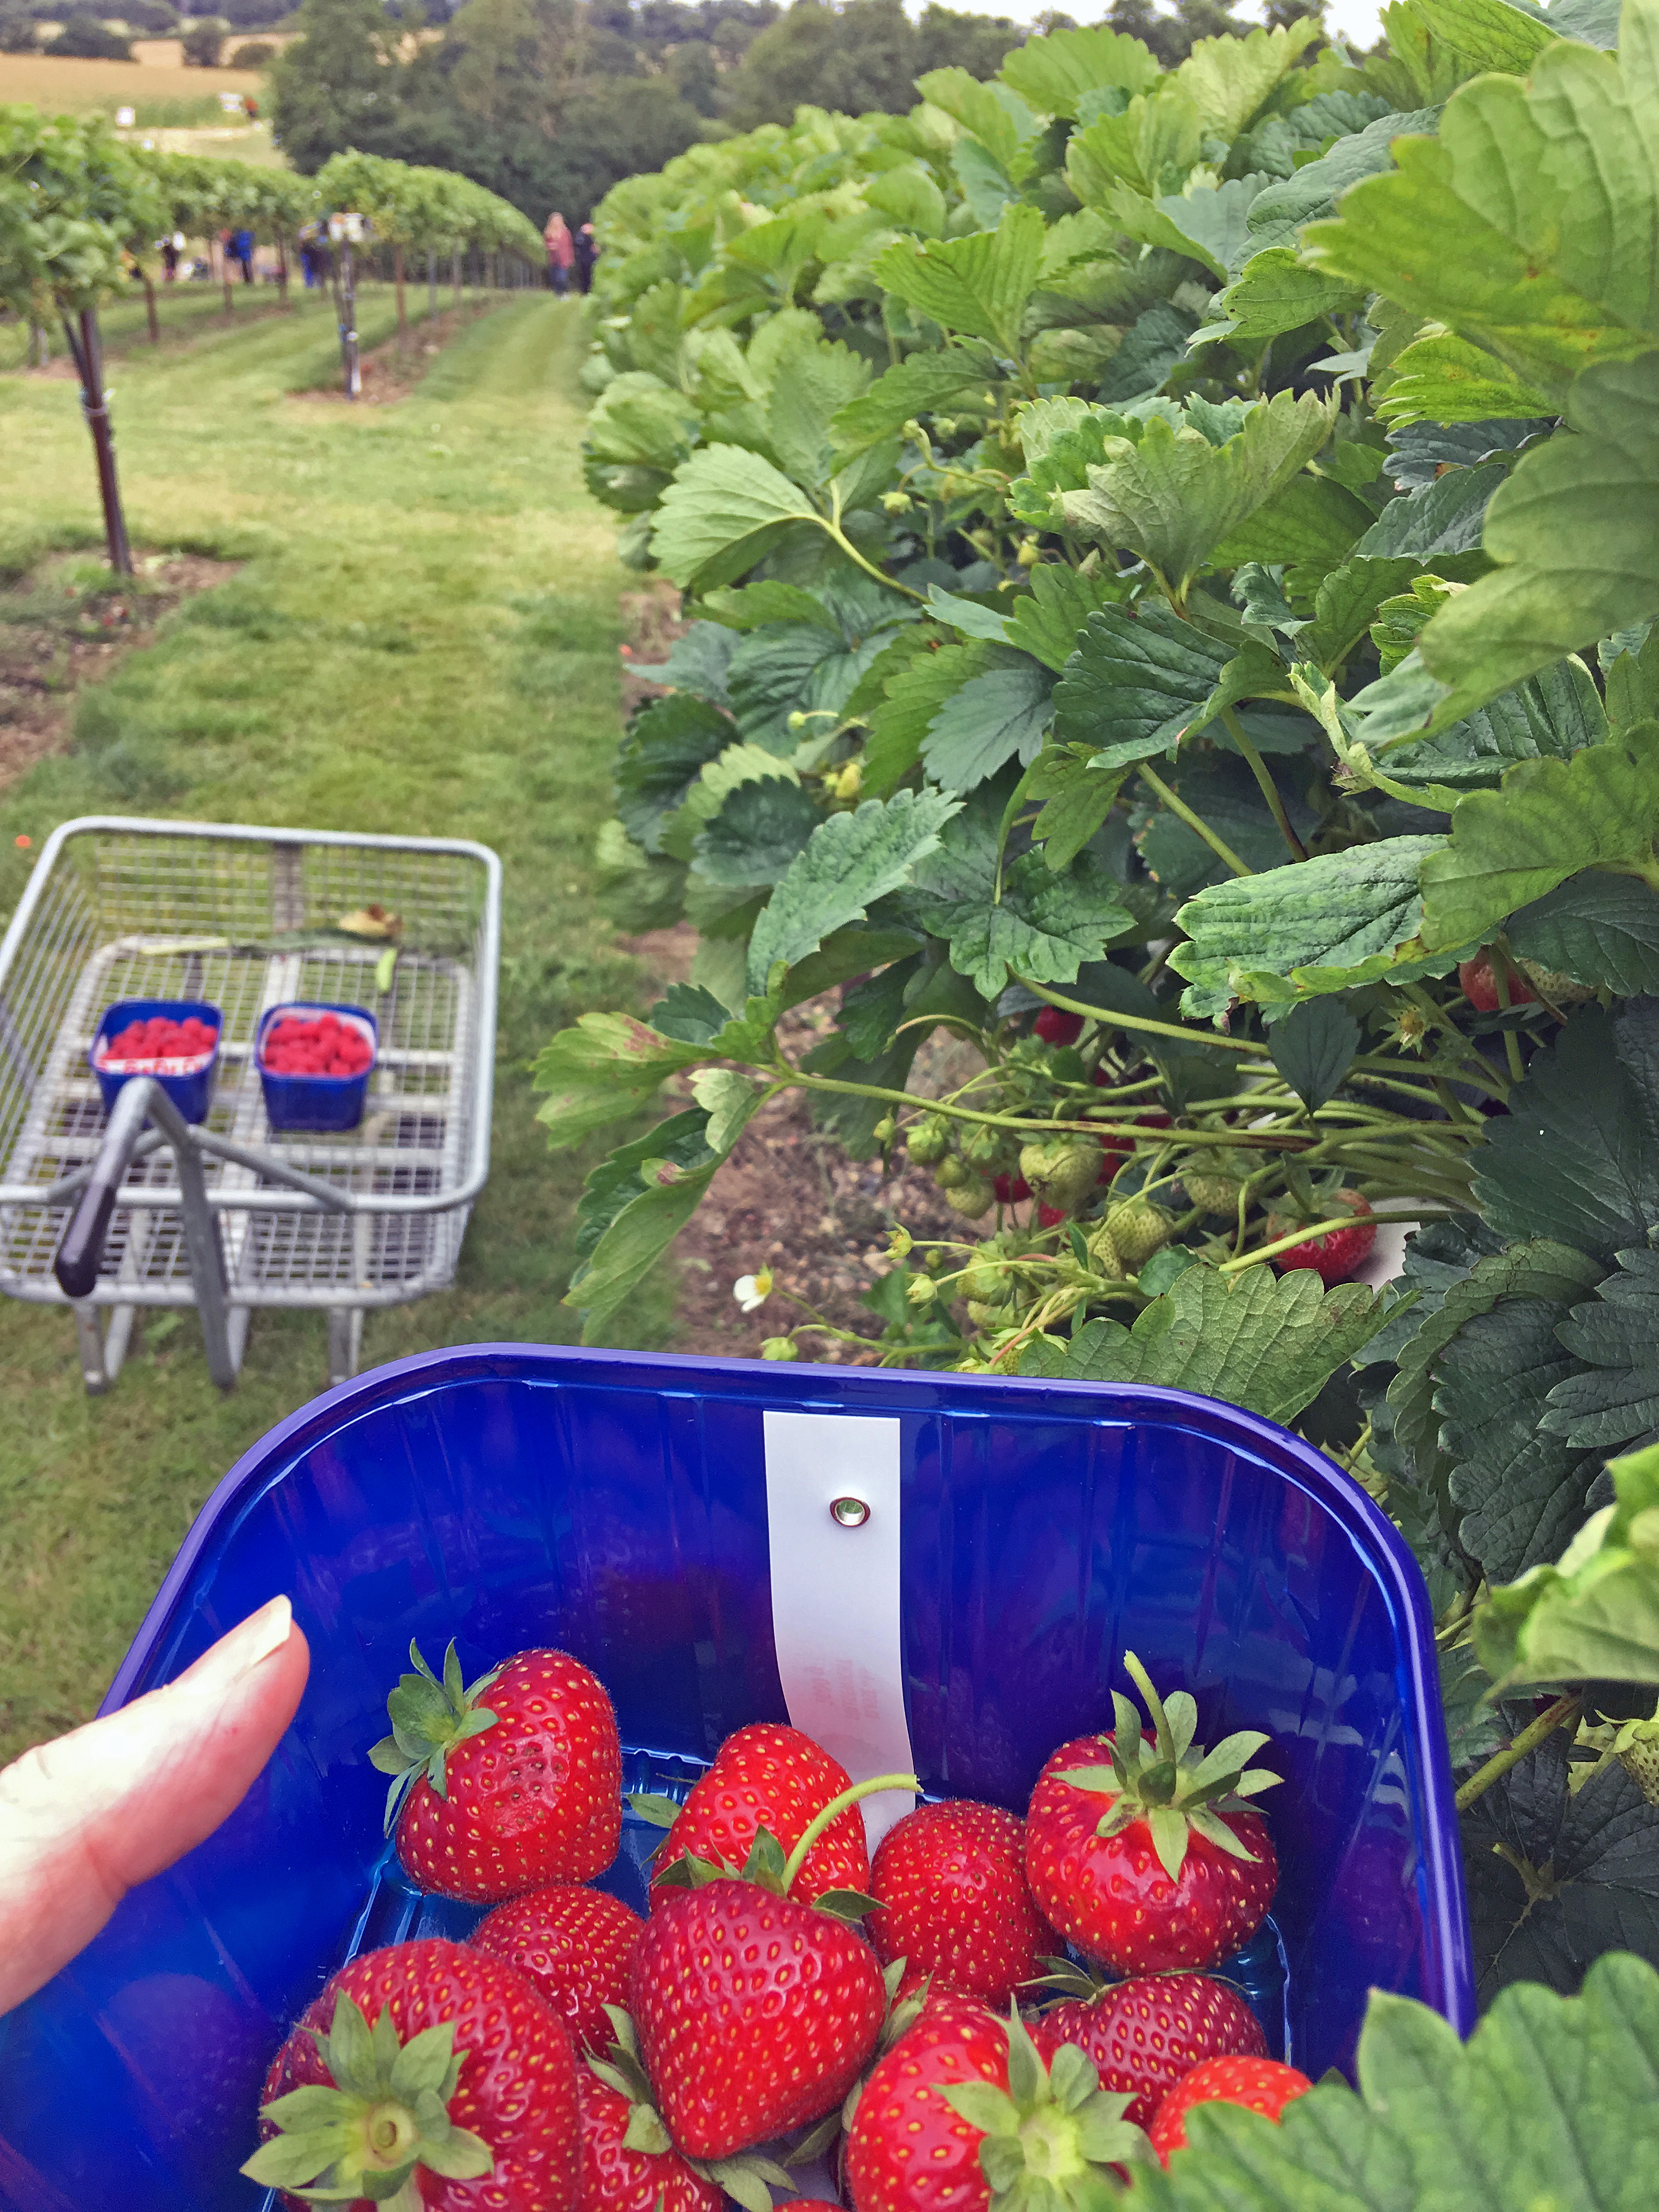
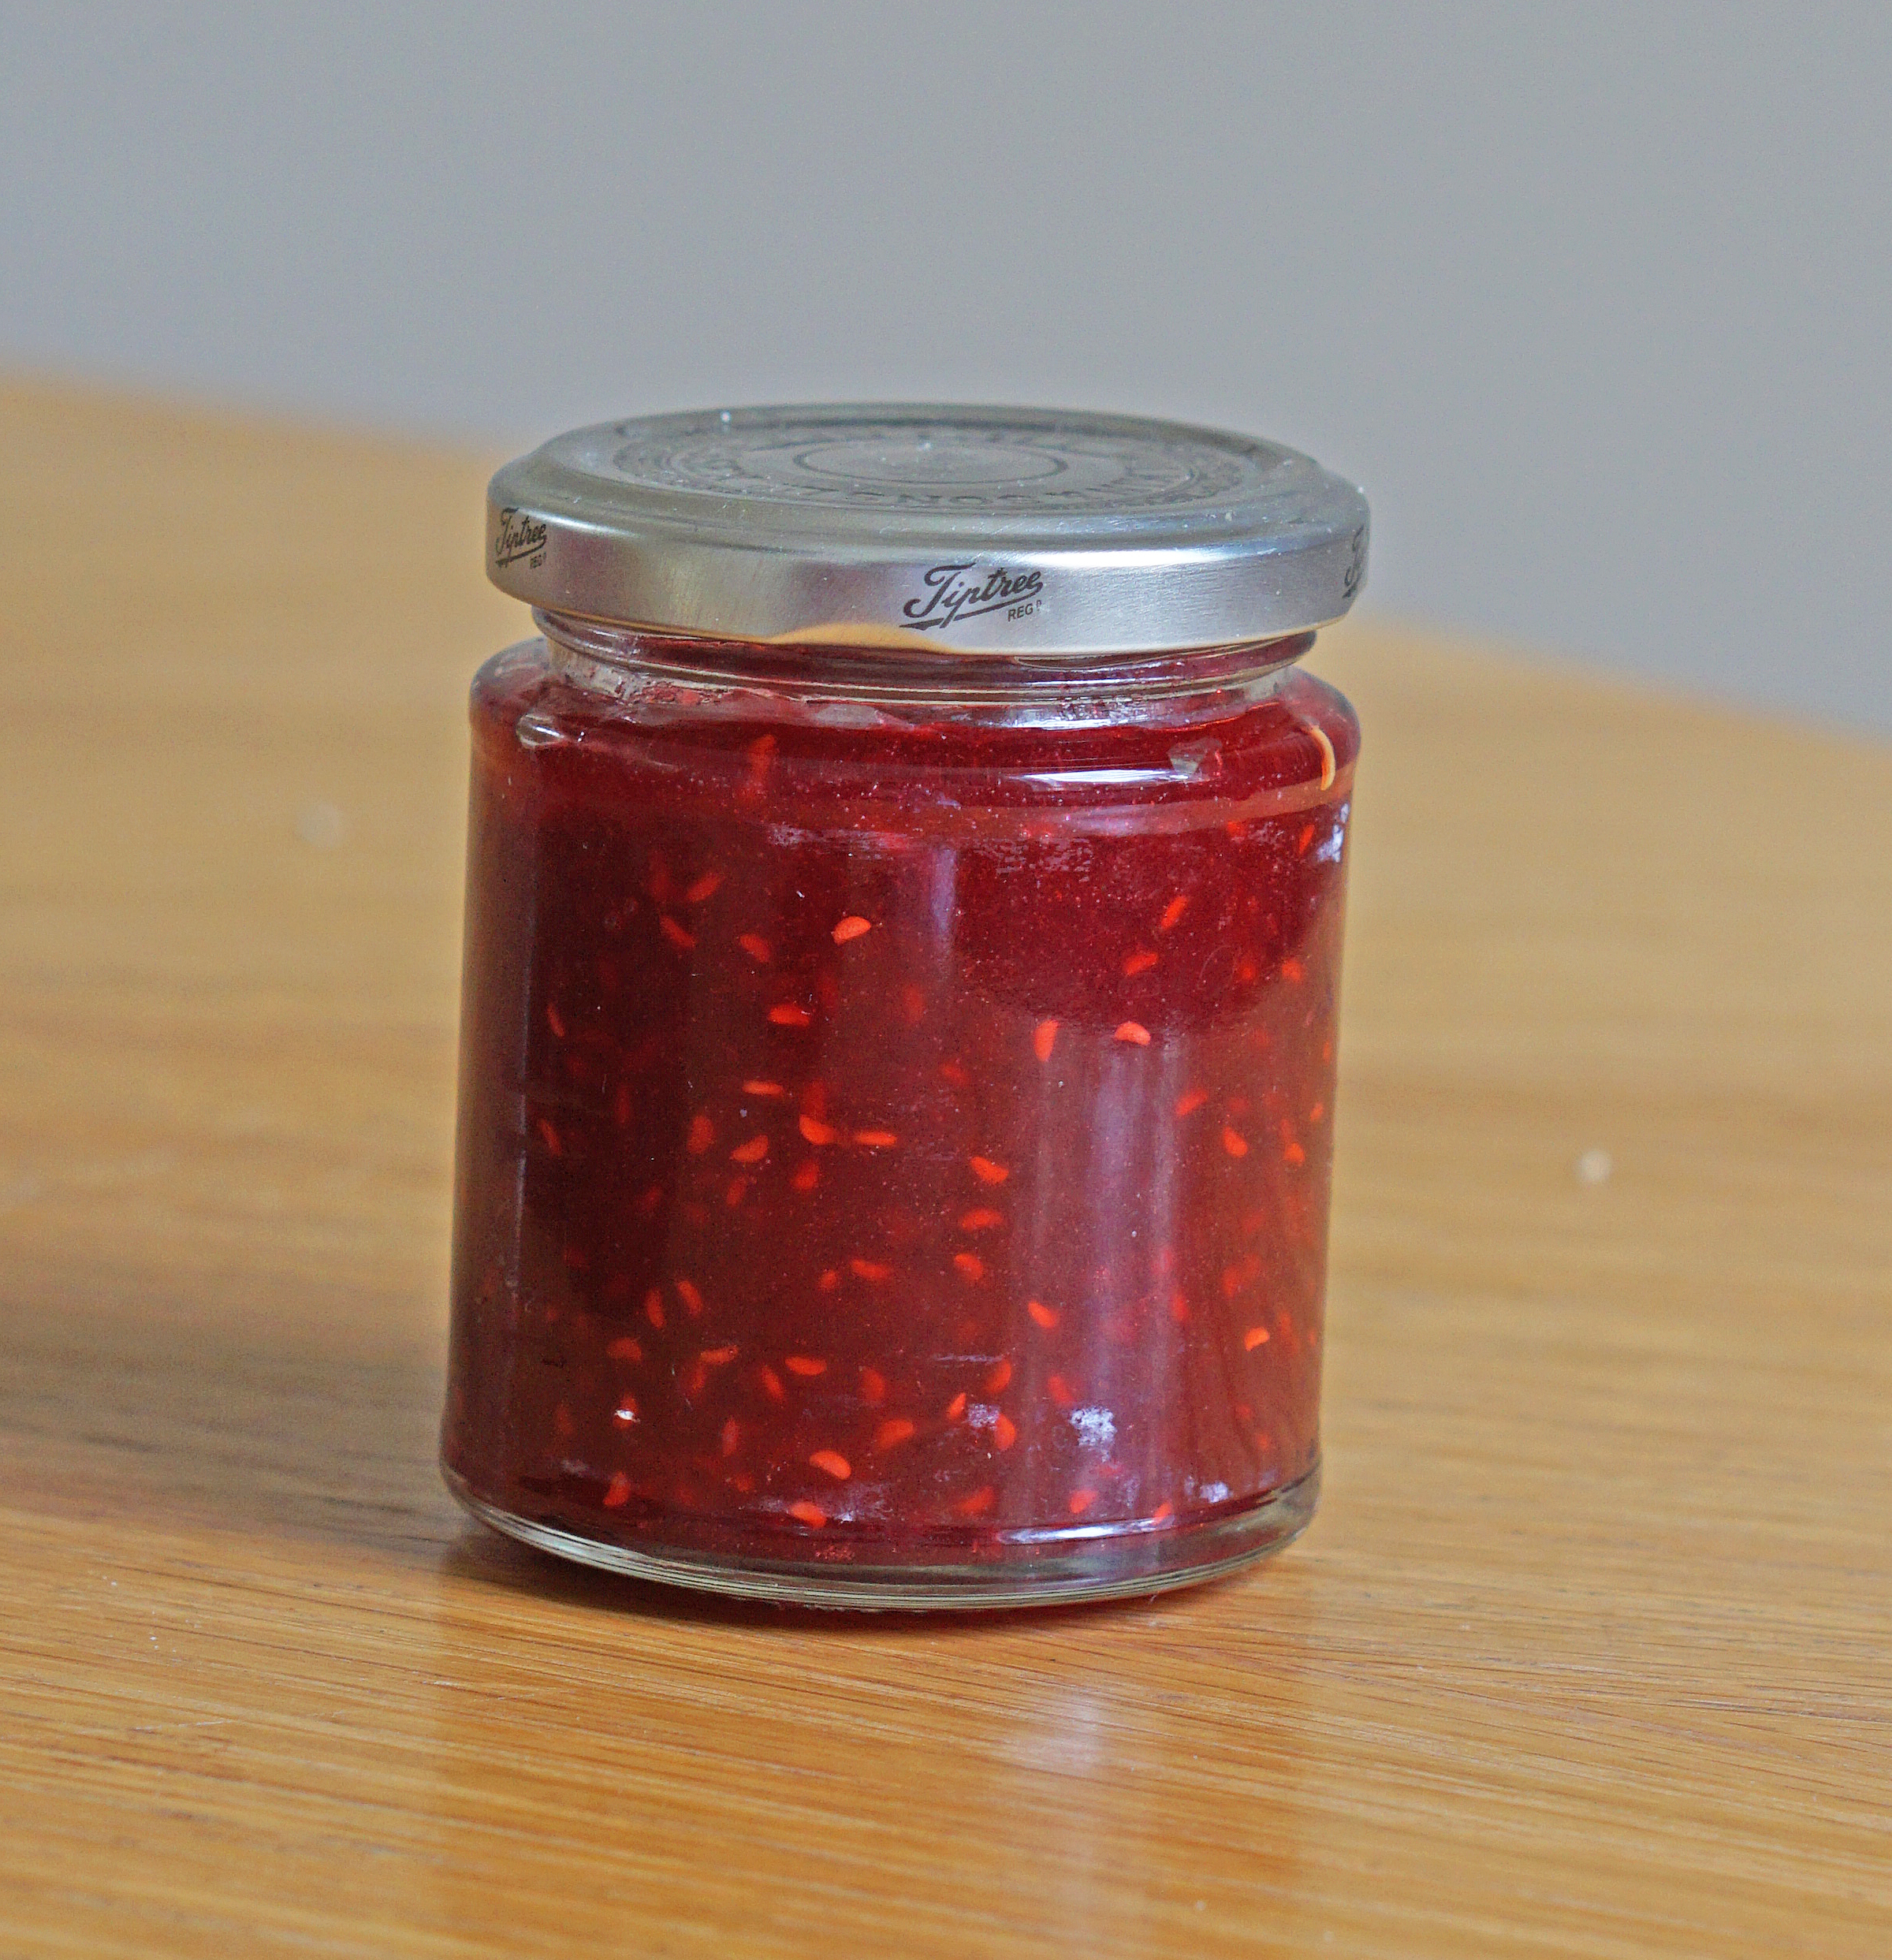
As it will be my mother’s birthday next week, and mother’s day on Sunday, I wanted to bake her something special, as it is a double celebration. I was having a think about what I could bake. I made some jam last year and I still have jar of blackberry jam left. I wanted to use it up with these cupcakes.

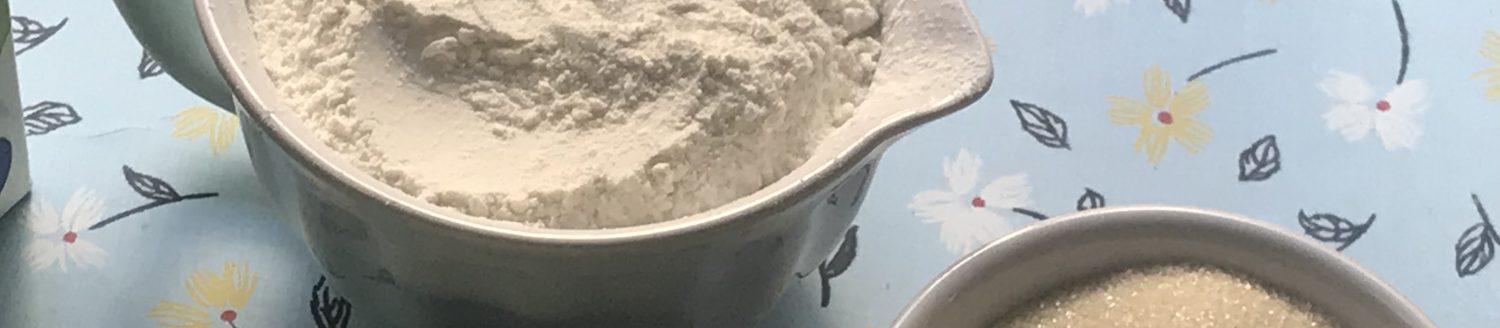
I had a look for cupcake recipes for inspirations in my cookbook collection, and I stumbled across a recipe in Nigella Lawson’s Domestic Goddess. She has a recipe for chocolate and cherry cupcakes. I decided to adapted this recipe using my jam and gluten free flour. I also used coconut sugar instead of caster sugar. It works brilliantly!

I love using this book. There was something so special adapting this recipe,because when I was younger this was the book me and mum would bake from.

I love it when you can get inspiration for new bakes from recipe books you have had for years.

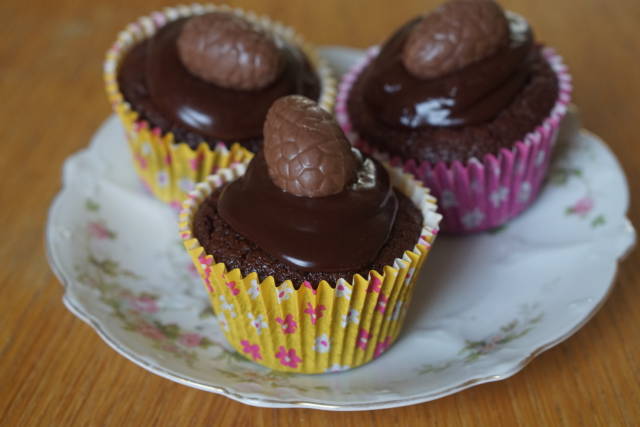
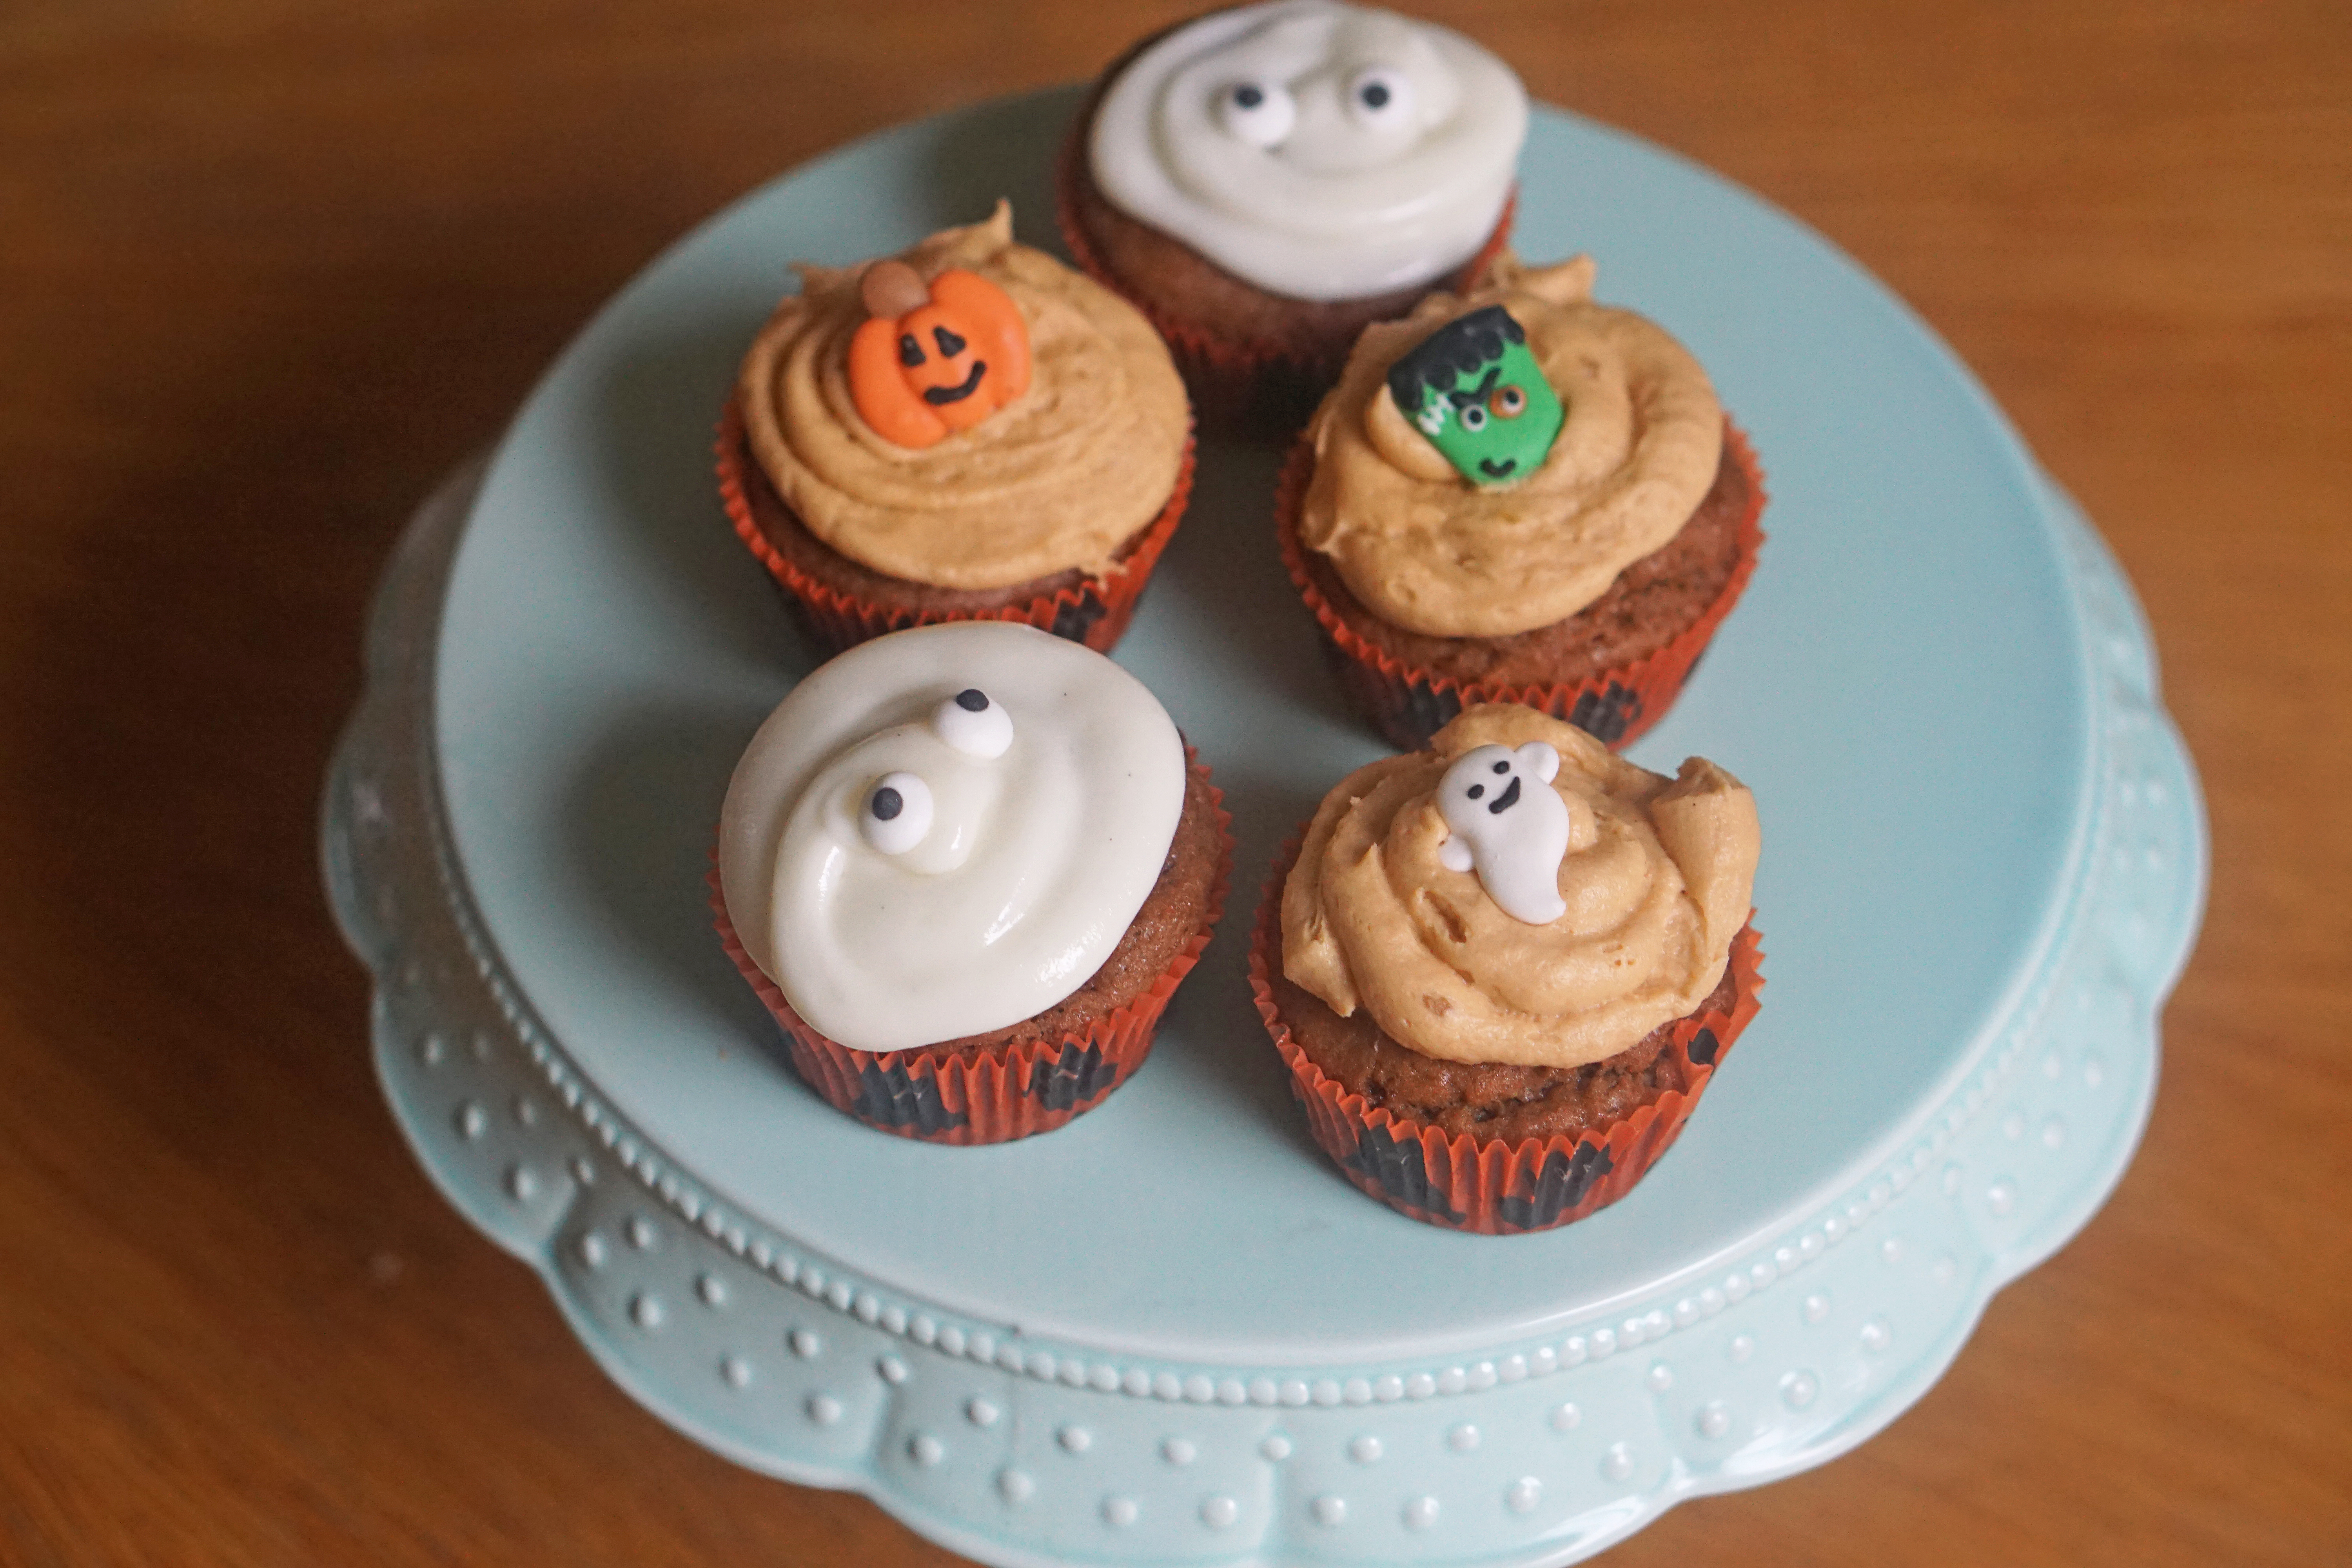
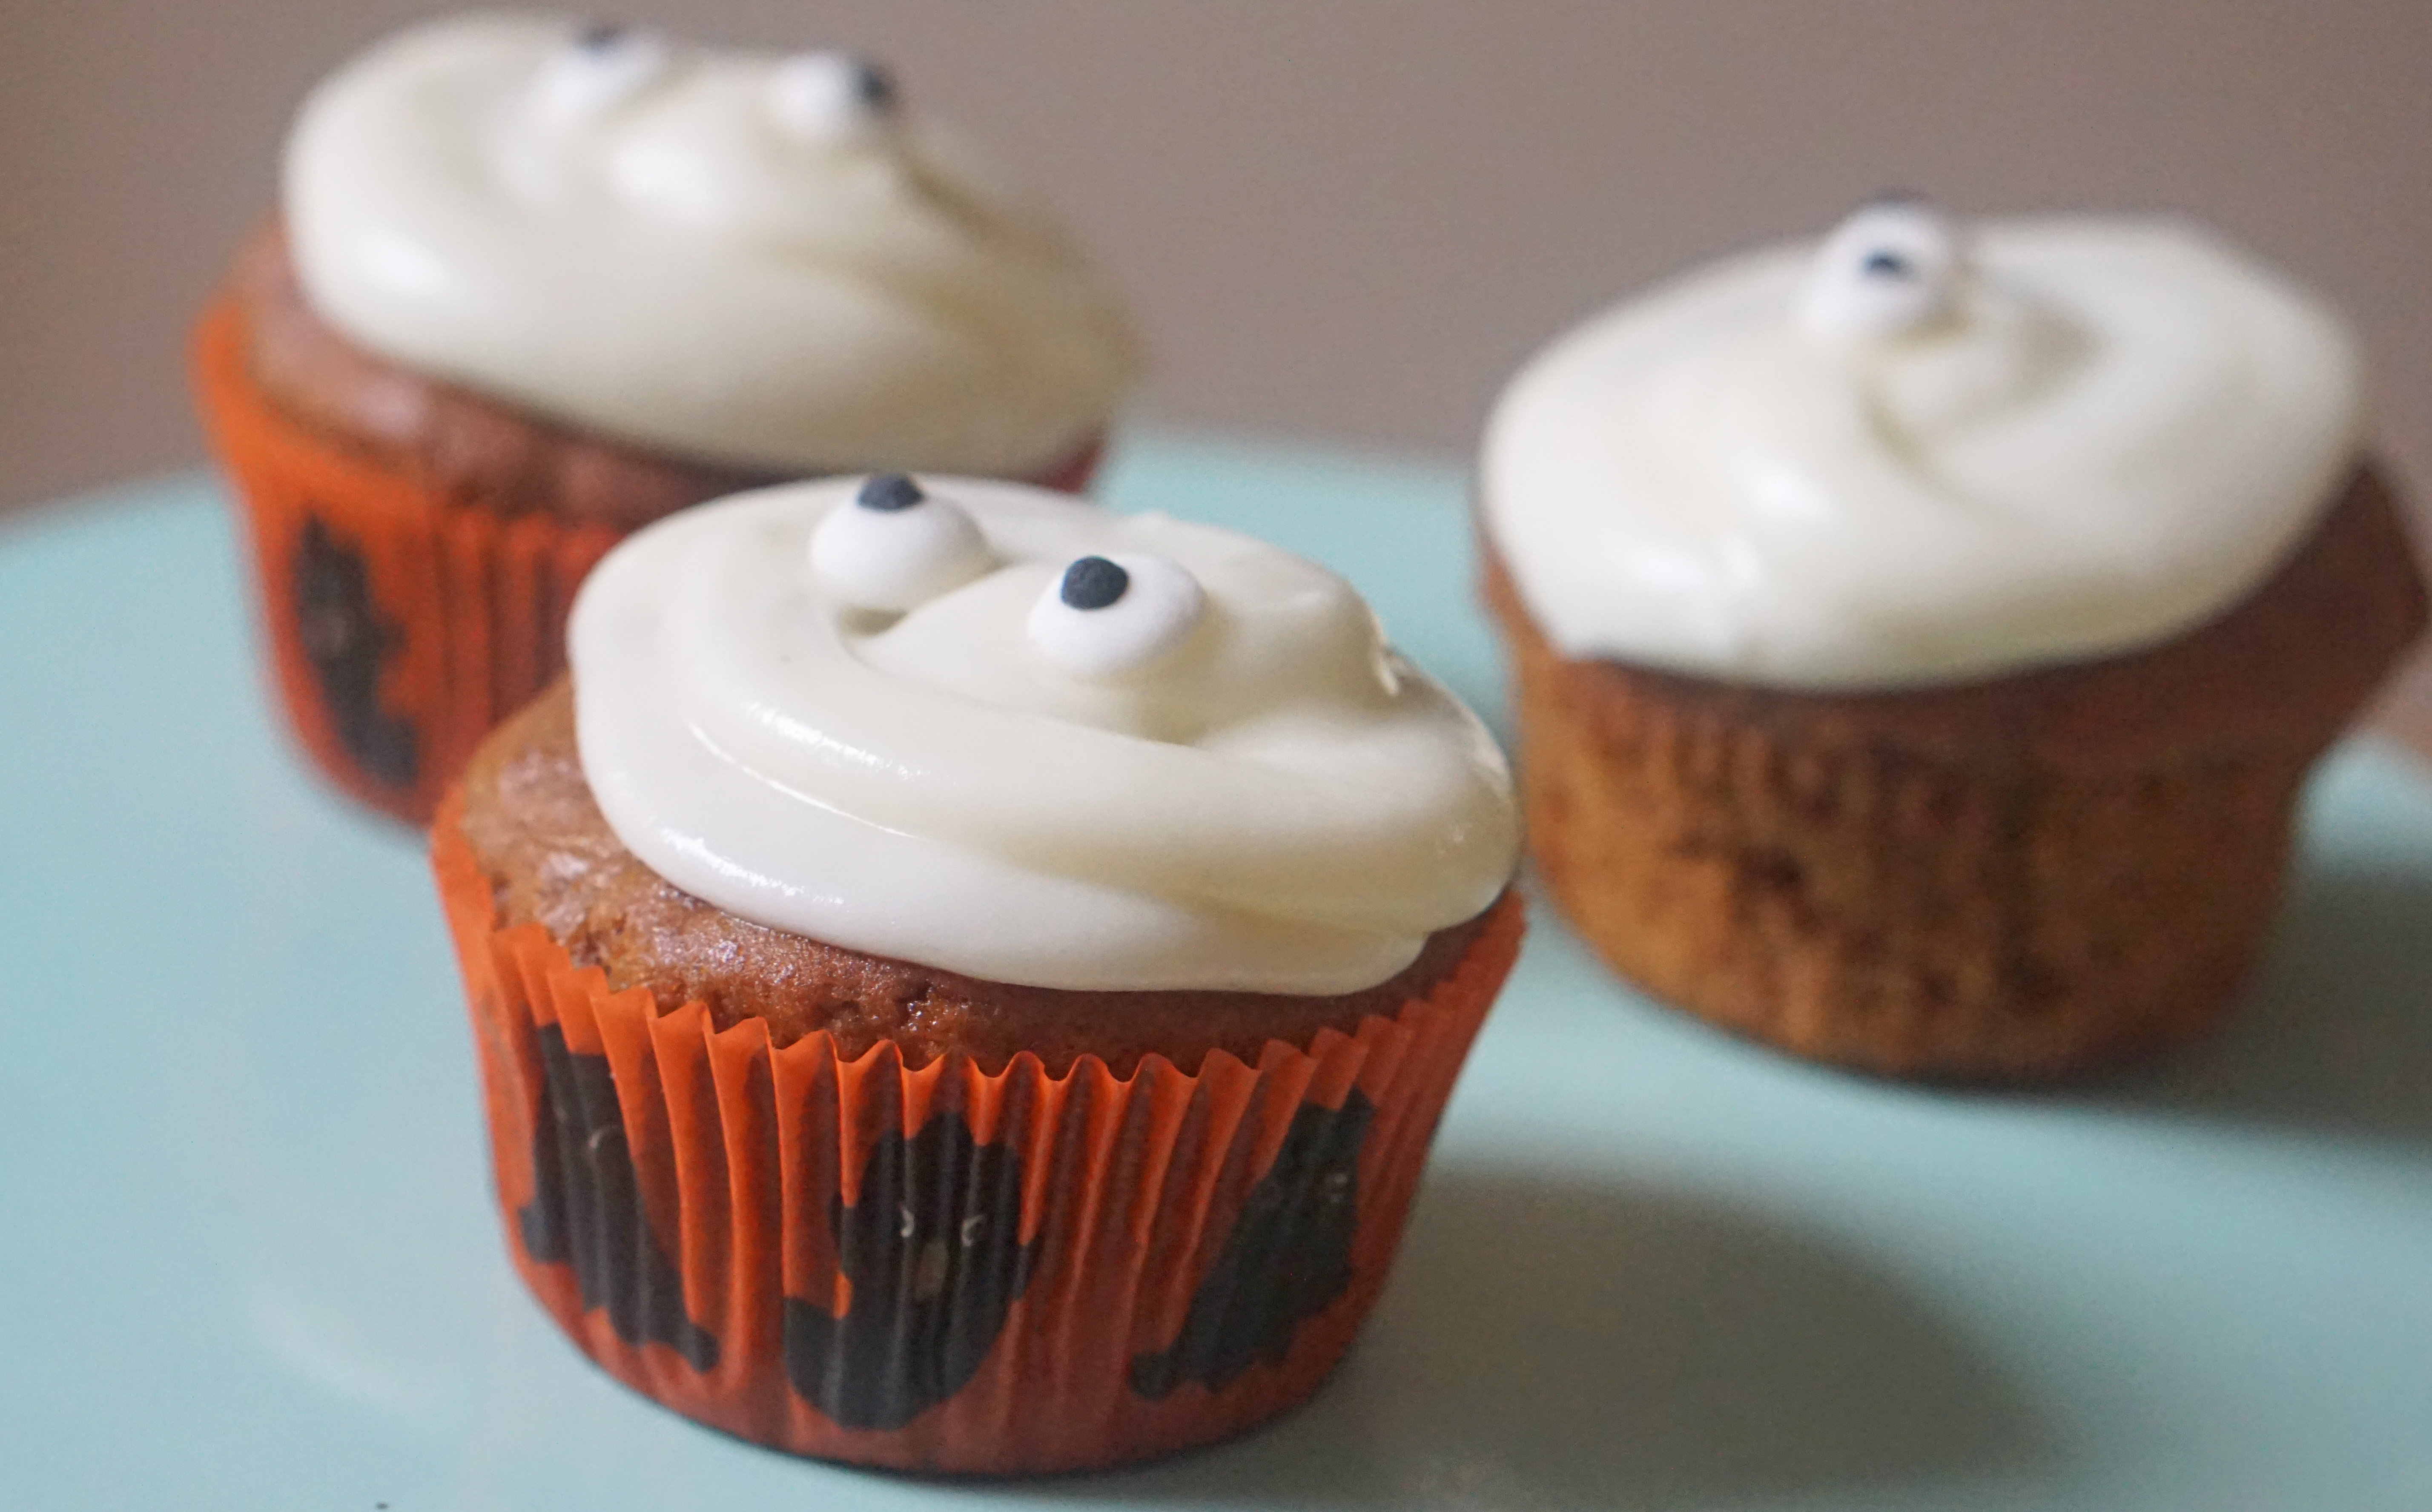
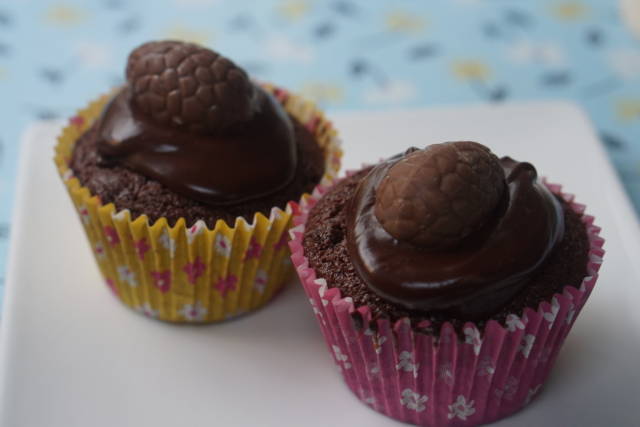
My chocolate and blackberry cupcakes.

Ingredients for cupcakes:

  • 125g unsalted butter
  • 100g dark chocolate
  • 300g blackberry jam
  • 150g coconut sugar
  • pinch of salt
  • 2 large eggs
  • 150g gluten free self-raising flour

For the chocolate ganache icing:

  • 100g dark chocolate
  • 100ml of double cream

Method:

1. Preheat your oven to 170 fan / gas mark 4. Line a large muffin tin with 12 muffin cases.

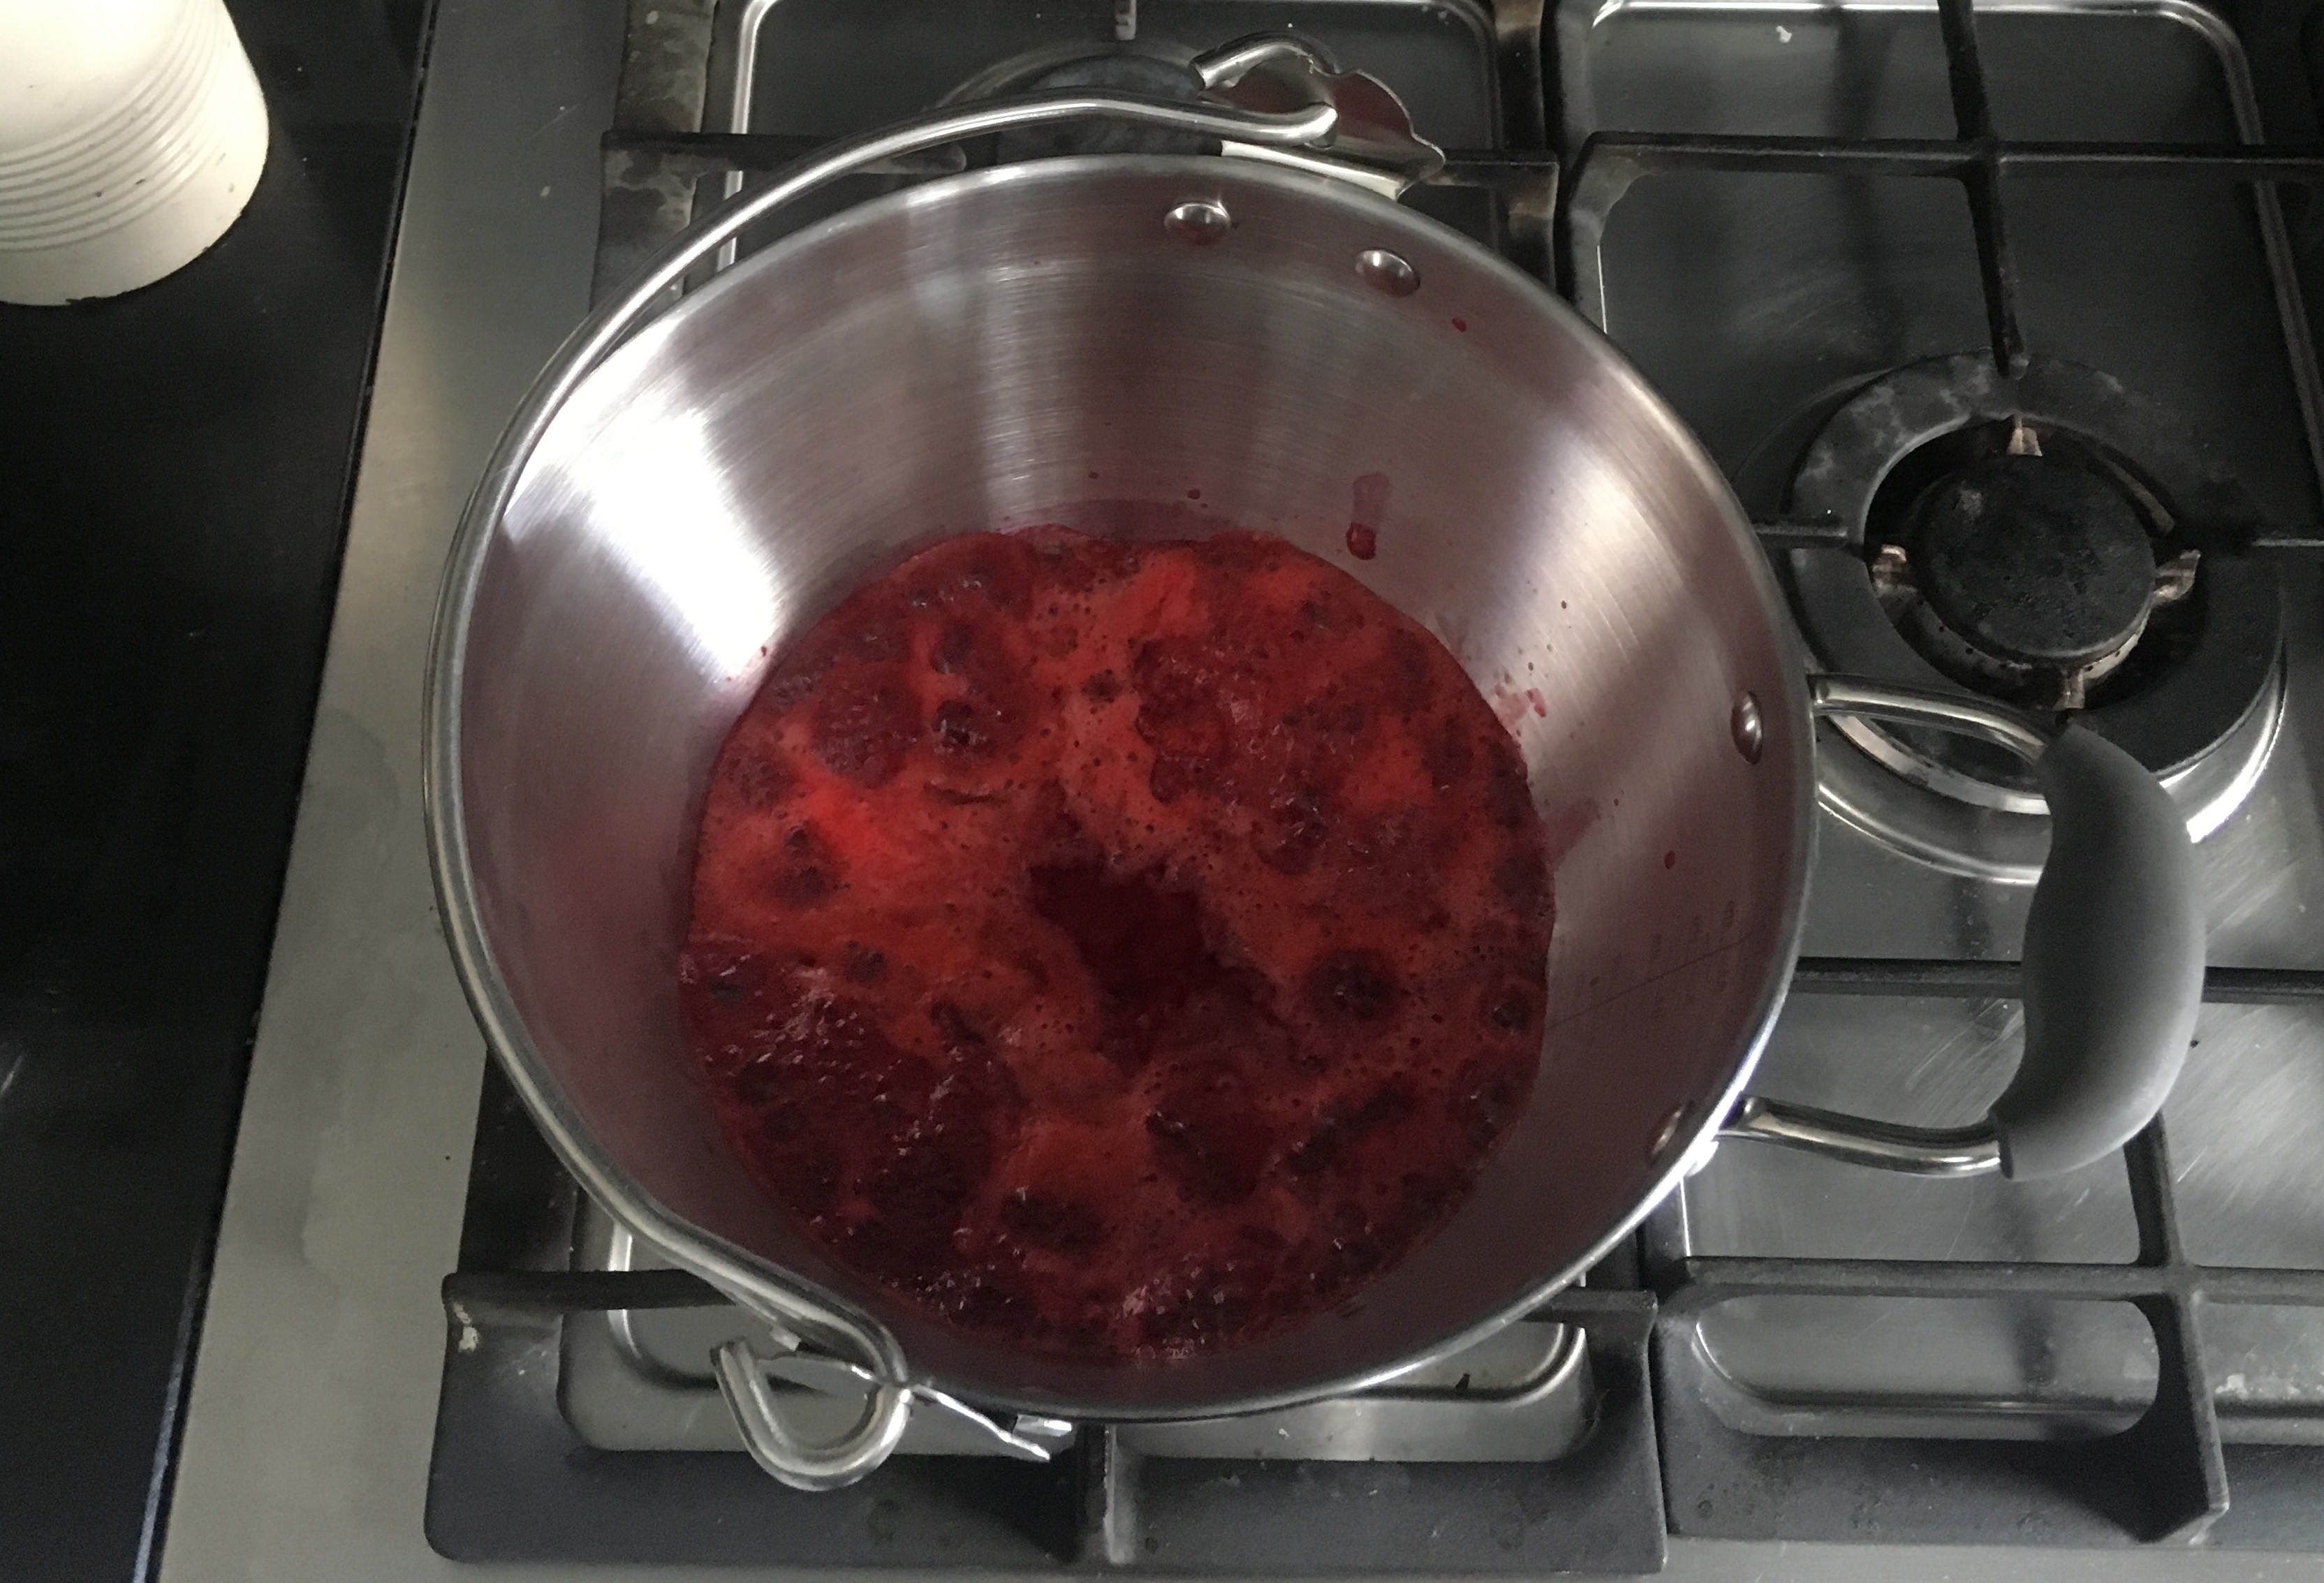
2. Put the butter in a large pan on the heat to melt. When the butter is almost melted, stir in the chocolate. Leave for a moment until the chocolate has started to melt.

3. Take the pan off the heat. Stir with a wooden spoon until the butter and chocolate are smooth and melted. Stir in the jam, sugar and eggs with a wooden spoon. Once the mixture is well mixed stir in the flour and salt. Make sure the flour is mixed in well.

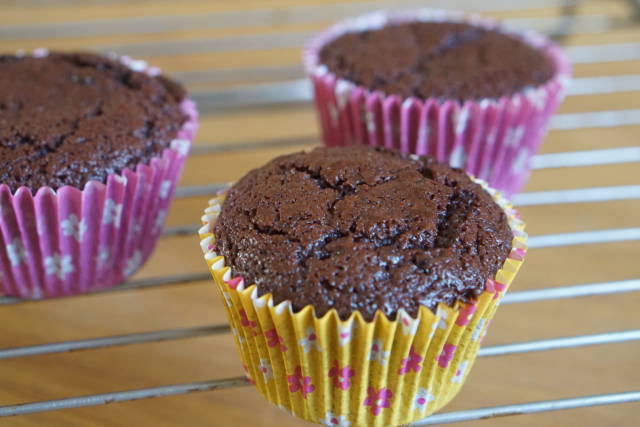
4. Pour the mixture into 12 muffin cases. Bake for 25 mins. They should be done once a cake skewer comes out clean. Leave to cool in the tin for 10 minutes before transferring onto a cooling rack.

5. While the cakes are cooling make the icing. Break the chocolate into a bowl. Bring the cream up to the boil. Once the cream is up to the boil, take off the heat and add the chocolate stirring to get a smooth ganache.

6. Finally spoon the ganache onto the cupcakes.

Enjoy!

Gluten Free Halloween Cupcakes

halloween 7 psd

It’s nearly time for the most spooky and scary time of year again, Halloween! If you are having a Halloween party or just giving out sweets, these pumpkin cupcakes with spiced cream cheese frosting will do the trick!

halloween v3

I love Halloween, it’s the best occasion to be creative with your bakes. These cupcakes are a great way to get the kids into the kitchen and interested in baking.  They can be decorated in different ways. These cupcakes use up the left overs from the pumpkins.

picture 4

Recipe for Gluten Free Halloween Pumpkin Cupcakes:

Ingredients:

  • 110g unsalted butter
  • 240g coconut sugar (you can use brown sugar)
  • 2 large eggs
  • ½ tsp vanilla extract
  • 100g of pumpkin puree (roasted)
  • 245g gluten free self raising flour
  • ½ tsp xantham gum
  • ½ tsp ground cinnamon
  • ½ tsp ground ginger
  • 125ml buttermilk  (or 120ml milk with a teaspoon of lemon juice)

For the white ghost icing:

  • 75g cream cheese
  • 150g icing sugar
  • 1tsp lemon juice
  • ¼ tsp vanilla extract

For the ginger buttercream:

  • 125g  unsalted butter
  • 300g icing sugar
  • 4 tsp  crystallised ginger syrup
  • 2 tsp lemon juice
  • 1 tsp ground cinnamon
  • Orange food colouring (add as much as you want depending how orange you want it)

Method:

  1. Preheat your oven to 160° fan/180°/350°f/gas mark 4, and line a cupcake tin with 12 cupcake cases.
  2. In a large bowl cream together the butter and sugar until the mixture is smooth (this takes 5 mins I like to put a timer on). Then beat in the vanilla extract.
  3.  In a separate bowl combine the flour, xantham gum, cinnamon and ginger give it a stir so all the spices are mixed in.
  4. Break the eggs into a cup and mix, poor half the mixture into the butter and sugar. Then add a spoon on flour (this stops the mixture curdling). Do this until all the egg is mixed in. Then add the the pumpkin and beat until just combined.
  5. Add one third of the flour to the creamed mixture and beat in, then add half of the butter milk and beat.  Repeat these steps until all the flour and butter milk has been added.
  6. Spoon the mixture into the cupcake cases and fill just to the top.
  7. Bake for 25 mins. Check if the cakes are cooked by inserting a skewer. They are cooked if the skewer comes out clean.
  8. Leave to cool in the tins for 10 minutes then place on a cooling rack to completely cool before icing.

For the white ghost icing:

  1.  Cream the cream cheese for 3 minutes until light and fluffy
  2.  Then add all the other ingredients and beat until all the ingredients are combined.

For the ginger icing:

  1. Cream the butter, syrup and lemon juice for 3 minutes until light and fluffy.
  2.  Add the icing sugar and cinnamon and beat until smooth.


To decorate:

I used a large nozzle piping bag to create a swirl effect.  you could of course ice with a flat knife.  I topped the cakes with Halloween decorations and googly eyes.

Enjoy!

Gluten free Jammy Dodgers

After making the homemade jam, I wanted to bake something with it. The first thing that came to mind was Jammy Dodgers (find the jam recipe on my blog).  I loved eating these when I was a little girl.

I have always loved baking, but biscuits are tricky gluten free because they are much more crumbly, however these hold their shape really well. This biscuit recipe is really easy to make, but looks really impressive .

jam dooger finshed picture 1

These are made with coconut sugar so they are much healthier for you than a normal biscuit. I find the coconut sugar actually adds a really nice flavour. I actually prefer these biscuits to the ones with caster sugar. If you want to be completely refined sugar free then you can use sugar free jam.  These biscuits are great to make in any season. I used raspberry jam but you can add any flavour jam you like.

jammie finshed dodger 4

Every summer I love to go the seaside with my family and dog who loves to have a walk on the beach and paddle in the sea.  We always have a picnic.  These biscuits are perfect to have in the hamper with a cup of tea. These are now going to be in the cake tin when we go out for day trips.

jammie dodgers 3 finshed psd

My tip is to roll out the dough straight away, don’t rest it because it becomes to crumbly to roll out.

Gluten Free Jammy Dodger Recipe:

Ingredients:

  • 110g unsalted butter
  • 55g coconut sugar
  • 165g gluten free plain flour
  • 1tbsp whole sheep milk (but you can use normal milk)
  • ½ tsp vannila bean paste
  • 1 jar of raspberry jam

Method:

  1. Preheat your oven to 170°/150 fan/ gas mark 3 ½  and line 3 baking trays with baking parchment.
  2. Put the butter, vannila  and coconut sugar in a bowl and beat until the sugar is light and fluffy (I beat it for 4 mins on a medium speed),
  3.  Next beat in the flour with a pinch of salt and beat in the milk until it forms a soft dough. Beat in a little more flour if too soft.
  4.  Tip the dough onto a lightly floured surface and knead for 2 mins to bring it   together.
  5.  Cut the dough in half. Roll out half the dough using a round cutter and place onto the baking tray, then roll and cut out the rest . Use a small star cutter and cut the middle of half of the biscuits (these will be the top).
  6.  Put into the oven and bake for 15-20 mins until they feel firm to touch ( I baked mine for 19 mins in a fan oven).
  7.  Once cooked leave on the baking tray for 5 mins then place to cool on a cooling rack (be careful when moving the biscuits because they are delicate).
  8.  To assemble the biscuits put a teaspoon of jam onto the biscuit that does not have a star shape on it. Then place the star cut biscuit on top.


Enjoy!

Raspberry Jam

Last year for my birthday my parents gave me the chance to go on a jam making course.  The experience was such fun that I was very keen to make my own jam. Sadly last year I was too late to pick my own fruit, but last week I went to a ‘pick your own’ fruit farm ready for my jam making.

jam making picture 1

The first time I ever made jam was when I was four.  I went on holiday to Ireland and went blackberry picking with my cousins. I remember the jam I made was the best thing I had ever tasted.  I think it was the freshness of those blackberries.

Making jam when you have picked your own fruit means its fresher and makes better jam. This year the raspberry crop was the best. The blackberries are now starting to be ready to be picked. I picked and made raspberry , strawberry and blackberry jam .

My tip is to only make a kilogram of jam at a time which is 6 jars of jam.  If you make it in this amount I find that it is easier to control the temperature, and all the jam I have made has set really well. Also make the jam as soon as possible after you have picked the fruit.

jam making picture 2

jam making picture 3            jam making picture 5

I loved the raspberry jam the best.

Recipe for raspberry jam:

Ingredients:

  •  1 kg raspberries
  •  Juice of one lemon
  •  1 pack of jam sugar (1 kg with pectin added)

Method:

  1. Before you start making the jam, sterilise your jars. Put into the oven on 180°(fan)  for 30 mins. After 30 mins take the jars out of the oven and leave to dry. Also put a plate in the freezer or fridge to cool (this will be used to test if the jam has set).
  2. Tip half the raspberries into a preseving pan and add the lemon juice. Mash the berries to a pulp with a potato masher, then cook for 5 mins.
  3. Tip the cooked berries over a sieve. Once all the juice has drained off , firmly work the pulp through the sieve until you are left with the seeds only.
  4. Tip the juice back into the preserving pan and over a low heat stir in the sugar. Then add the remaining raspberries and bring to the boil.Boil for 5 -7 mins (make sure you stir occasionally this will stop the sugar crystallising around the side of the pan).
  5. Spoon a teaspoon of jam onto the cold plate and put back into the fridge for 2 mins. The jam will be ready if it wrinkles when you push a spoon into it.  If it does not, boil again for another 3 mins (I find it needs an extra 3 mins).
  6. Once ready take off the heat. Get a small piece of butter and stir it into the jam, this stops a skin forming when the jam is cooling.
  7. Leave to cool for 30 mins stirring occasionally.  Once cooled poor into the jars and leave to cool for another 30 mins . Then put a ring of parchment paper the size of the lid to stops a skin forming. Then put the lids on.
  8. Unopened store in a cupboard and once opened store in the fridge.

Enjoy!