Raspberry Jam

Last year for my birthday my parents gave me the chance to go on a jam making course.  The experience was such fun that I was very keen to make my own jam. Sadly last year I was too late to pick my own fruit, but last week I went to a ‘pick your own’ fruit farm ready for my jam making.

jam making picture 1

The first time I ever made jam was when I was four.  I went on holiday to Ireland and went blackberry picking with my cousins. I remember the jam I made was the best thing I had ever tasted.  I think it was the freshness of those blackberries.

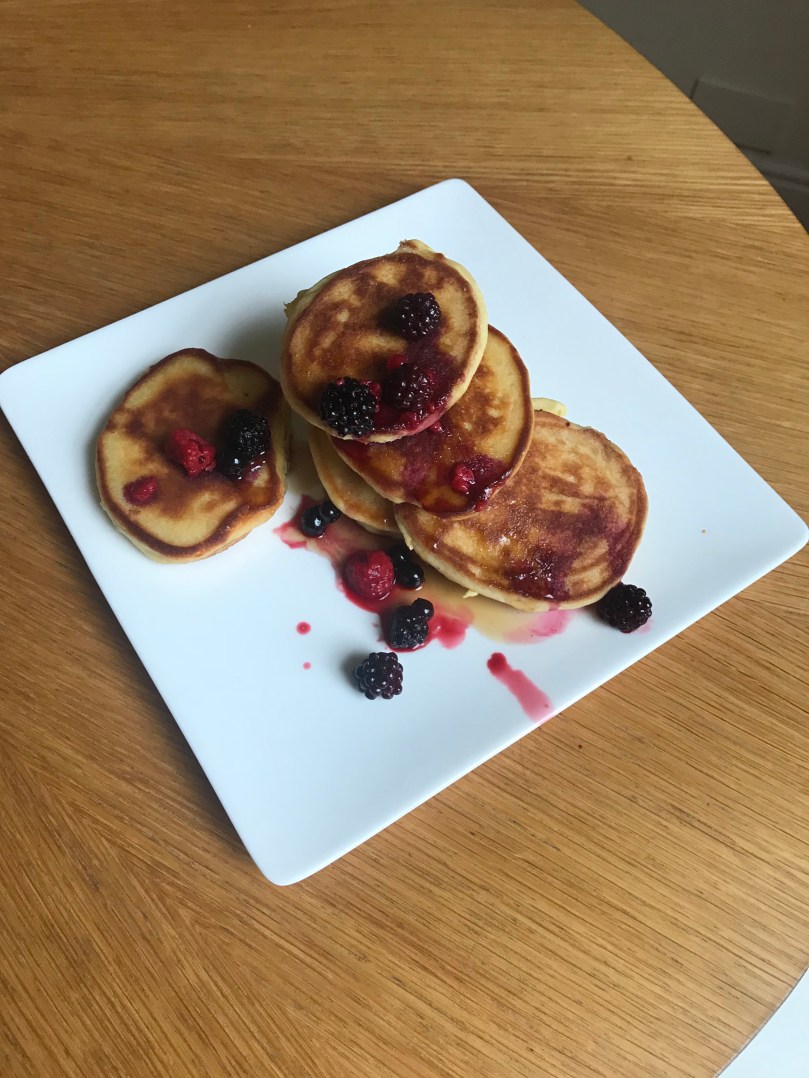
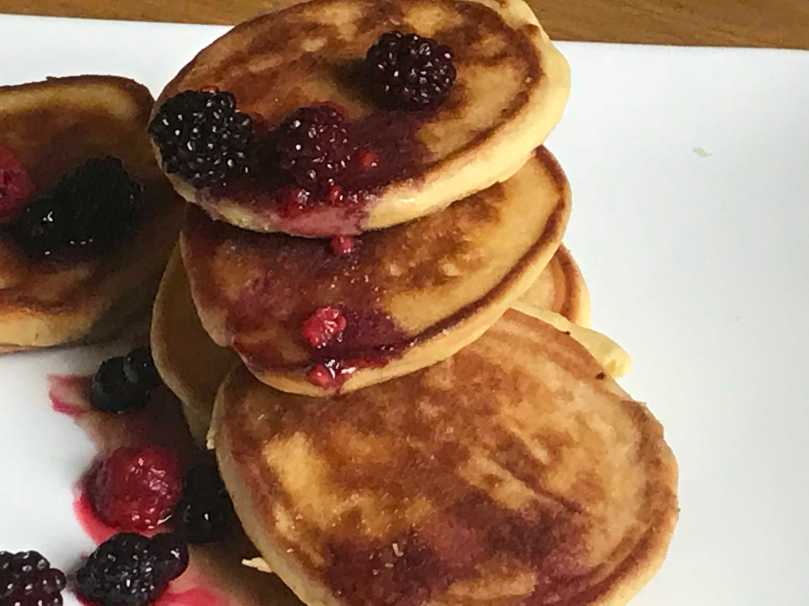
Making jam when you have picked your own fruit means its fresher and makes better jam. This year the raspberry crop was the best. The blackberries are now starting to be ready to be picked. I picked and made raspberry , strawberry and blackberry jam .

My tip is to only make a kilogram of jam at a time which is 6 jars of jam.  If you make it in this amount I find that it is easier to control the temperature, and all the jam I have made has set really well. Also make the jam as soon as possible after you have picked the fruit.

jam making picture 2

jam making picture 3            jam making picture 5

I loved the raspberry jam the best.

Recipe for raspberry jam:
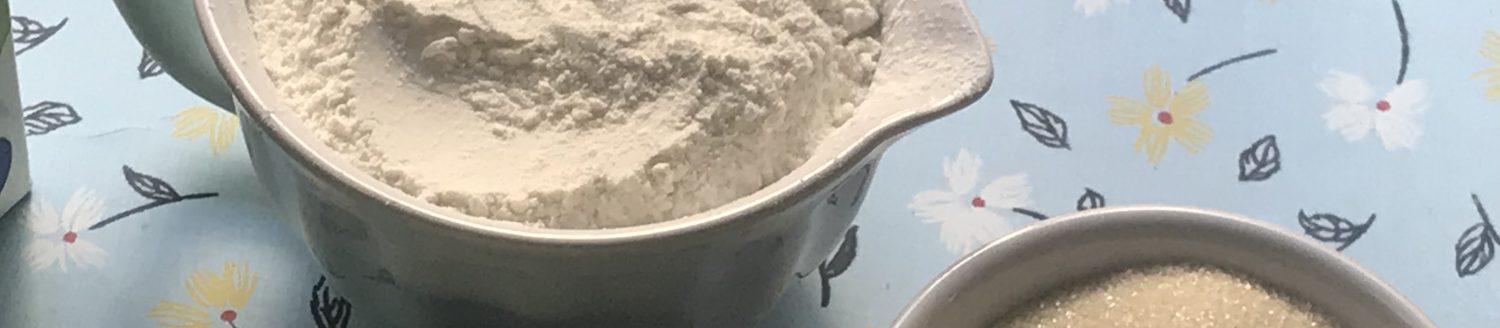
Ingredients:

  •  1 kg raspberries
  •  Juice of one lemon
  •  1 pack of jam sugar (1 kg with pectin added)

Method:

  1. Before you start making the jam, sterilise your jars. Put into the oven on 180°(fan)  for 30 mins. After 30 mins take the jars out of the oven and leave to dry. Also put a plate in the freezer or fridge to cool (this will be used to test if the jam has set).
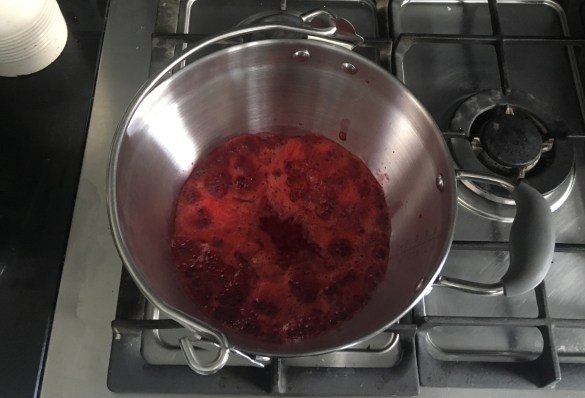
  2. Tip half the raspberries into a preseving pan and add the lemon juice. Mash the berries to a pulp with a potato masher, then cook for 5 mins.
  3. Tip the cooked berries over a sieve. Once all the juice has drained off , firmly work the pulp through the sieve until you are left with the seeds only.
  4. Tip the juice back into the preserving pan and over a low heat stir in the sugar. Then add the remaining raspberries and bring to the boil.Boil for 5 -7 mins (make sure you stir occasionally this will stop the sugar crystallising around the side of the pan).
  5. Spoon a teaspoon of jam onto the cold plate and put back into the fridge for 2 mins. The jam will be ready if it wrinkles when you push a spoon into it.  If it does not, boil again for another 3 mins (I find it needs an extra 3 mins).
  6. Once ready take off the heat. Get a small piece of butter and stir it into the jam, this stops a skin forming when the jam is cooling.
  7. Leave to cool for 30 mins stirring occasionally.  Once cooled poor into the jars and leave to cool for another 30 mins . Then put a ring of parchment paper the size of the lid to stops a skin forming. Then put the lids on.
  8. Unopened store in a cupboard and once opened store in the fridge.

Enjoy!


Gluten Free Soda Bread

UHLN9567

Happy spring everyone! This year I decided that I wanted to learn and develop gluten free bread recipes. I have been wondering what recipe to share next, as it is St Patrick’s day on Sunday, so I thought this must be the next recipe.

Gluten free Soda Bread!

I have grown up with soda bread. Before I went ‘gluten free’ I use to cook my aunties recipe. Every time I went to Ireland to visit there was a fresh loaf. It’s delicious with jam for breakfast. I love the light texture so now I am gluten free I was determined to develop a gluten free recipe.

XQPY0062

It has taken me a long time to develop this recipe, as I have found that gluten free soda bread crumbles much more easily than a normal soda bread, and the texture can be denser. I have found that using four types of flour, instead of only using two, really helps keep the structure, and the bread does not crumble when cut, and has a light texture.

This recipe keeps really well and can be made ahead and frozen.  This bread is a perfect way to start a St Patrick’s day celebration with smoked salmon, or served with an Irish Stew later in the day.

It’s a great bread and I always try to make two and freeze one as there is nothing better than having homemade bread for open sandwiches.

JNXP3904 (2)


Gluten Free Soda Bread Recipe:

Note: This cooking gives the best result.  Bake for the first 20 mins in a 170°c oven , then turn the oven down to 150°c to cook for another 10 mins. Finally, take out the bread and place on a baking tray upside down and put back in the oven for 10 mins.

Ingredients:

  • 1 tsp apple cider vinegar
  • 90g teff flour
  • 75g brown rice flour
  • 50g potato flour
  • 25g gluten free brown bread flour
  • 1 tsp bicarbonate of soda
  • ½ tsp gluten free baking powder
  • 40g sunflower seeds
  • 1½ tsp rapeseed oil plus some for greasing the tin
  • 2 tsp molasses
  • ½ tsp xanthan gum
  • 2 eggs
  • 100ml goats milk
  • 50ml sheep yogurt
  • 1 tbsp brown rice flakes (optional)


Method:

  1.  Preheat the oven to 170° and grease a loaf tin with rapeseed oil.  Then cover the bottom of the tin with rice flakes (optional) . Just shake off the ones that don’t stick to the tin.
  2. Measure out the goat’s milk and sheep’s yogurt . Add the apple cider vinegar and set aside.
  3. Combine the flours with the baking soda , salt and baking powder in a bowl, then stir in the sunflower seeds.
  4. Add the oil, xanthan gum and molasses to the milk and yogurt mixture Using a hand blender pulse, until everything is well combined. Add the eggs to the milk and use the hand blender to mix in the egg (I like to do that for 3 minutes)
  5. Finally make a well in the middle of the dry ingredients and pour in the wet ingredients. Stir until everything is well combined.
  6. Pour into the greased tin smooth the top.  Put into the oven for 20 mins . After 20 mins turn down the oven to 150° and cook for a further 10 mins. Take the bread out of the tin and place upside down on a baking tray. Put back in the oven and cook for a final 10 mins.
  7. Take out of the oven wrap in a wet tea towel, which stops the bread from drying out. Leave to cool in the tea towel.

Enjoy !

Gluten Free Yogurt Pancakes

IMG_1948

When its been a long and tough week and stress is getting too much, I feel like I need a breakfast to cheer me up at the weekend before I head into work.

What to have? Pancakes !

IMG_1939

Why pancakes ? Well it was one of the first dishes my mum taught me. When I was younger my first few attempts were raw. I did not have the patience to wait for the batter to cook.  Fast forward until now with lots of practice , and I have the patience to let the batter to cook !

IMG_1942

Pancakes are my Dad’s favorite breakfast. He lived in America for two years, and on a Saturday morning he would go and have American pancakes. He knows his pancakes , so if I don’t impress him I know that they are not quite right.

IMG_1935

This recipe came about by accident. I wanted to make pancakes for breakfast but I had not got enough sheep milk, so I decided to use sheep yogurt as well. It worked well.  I used gluten free flour.  I wanted these pancakes to have less sugar so I used vanilla extract to help sweeten them.

These pancakes are not just for Shrove Tuesday !!!

IMG_1944

Recipe: Gluten free yogurt pancakes topped with fresh berries.

               Makes 6 Pancakes

                Ingredients

  • 100g gluten free self raising flour
  • 25g rice flour
  • 1/4 tsp baking powder
  • Egg
  • 1 tablespoon caster sugar
  • 100ml sheep milk
  • 25g sheep yogurt
  • 1/4 tsp of vanilla extract
  • 25g goats butter (melted)
  • plus goats butter for cooking.

Method:

  1. Put the flour, baking powder , sugar and salt into a bowl. Mix together gently with a spoon.
  2. Add the sheep’s milk, yogurt and egg into a jug and stir.
  3. Add the vanilla extract and melted butter into the flour mix and stir together
  4. Add the milk, yogurt and egg and mix until everything is incorporated  (don’t worry if the batter is lumpy that is good).
  5. If the mixture is a bit thick ( it can happen depending how thick the yogurt is) add another splash of milk and mix the mixture. It should drop off the spoon.
  6. Melt butter in a frying pan. Spoon a spoon full of mixture into the pan (I like to cook 2 at a time). Cook on one side for 3 mins then flip and cook for another 2-3 mins depending how thick the pancakes are. (they should be golden brown on each side)
  7. Put the pancakes in a low oven while you cook the others. Repeat this cooking method until all the pancakes are cooked.
  8. Top with fruit and maple syrup.


Enjoy!